How to Build a Model Train Layout
Source: Gen_Shtab/shutterstock.com
Getting started with your model railroad can be equally exciting and overwhelming. Especially when you look at images of impressive layouts. You may not know where to begin and how to organize yourself, but like with every project, one step at a time.
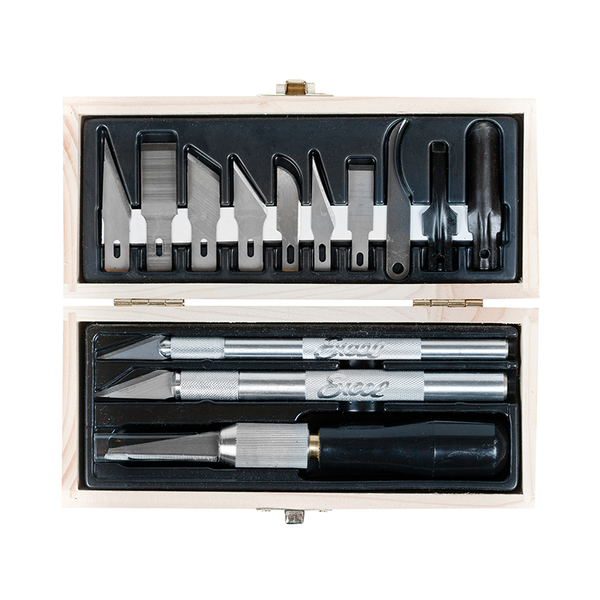
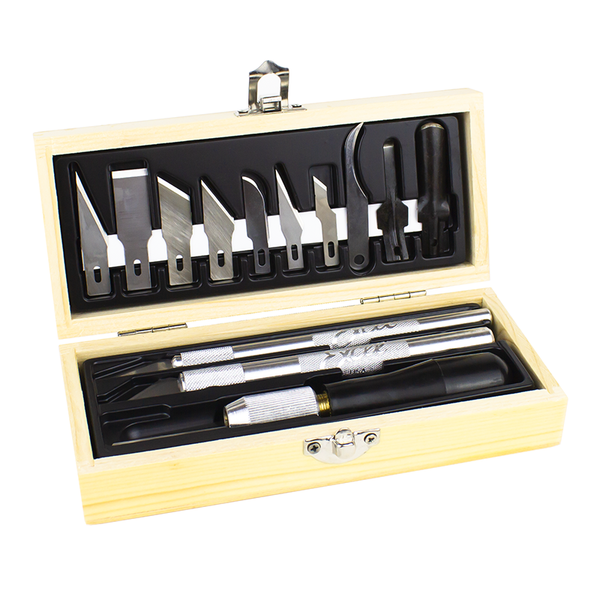
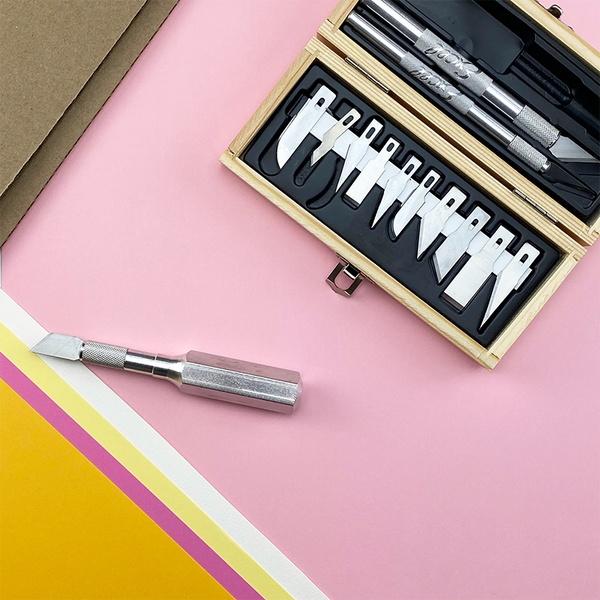
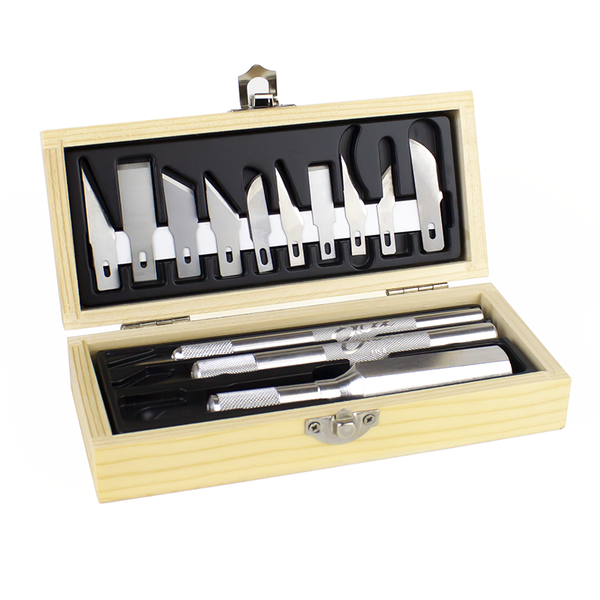
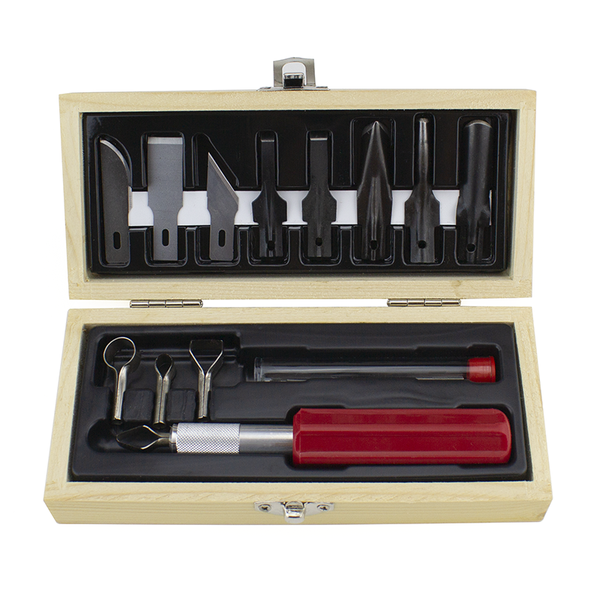
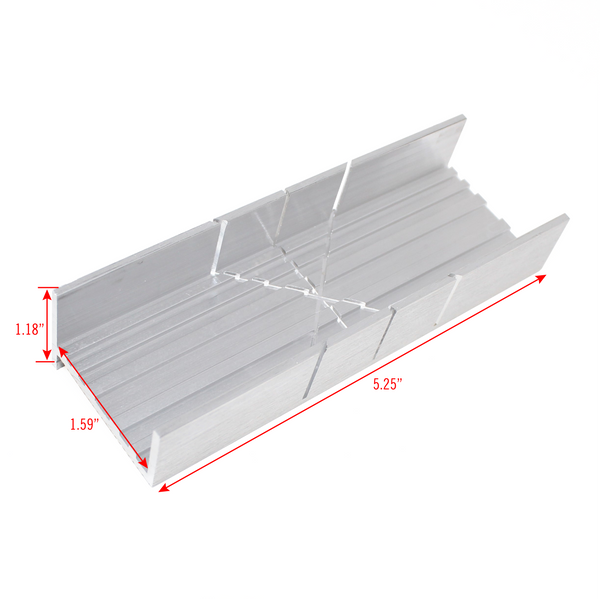
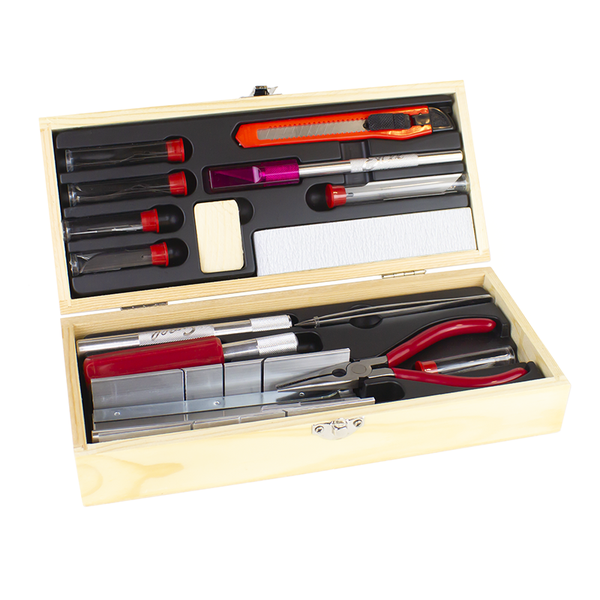
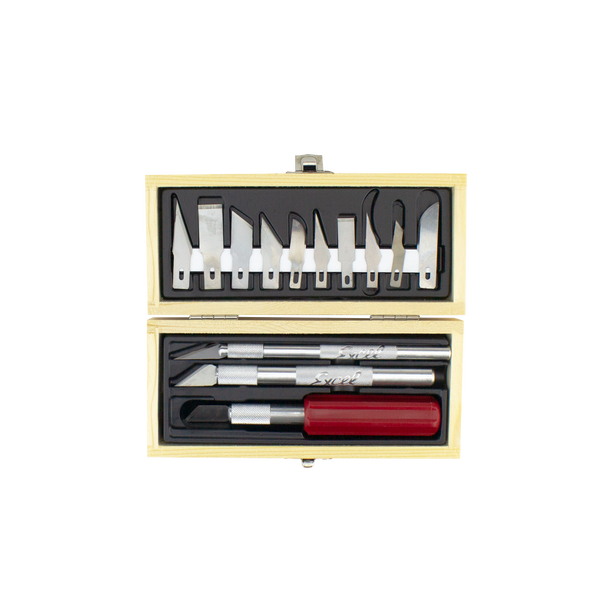
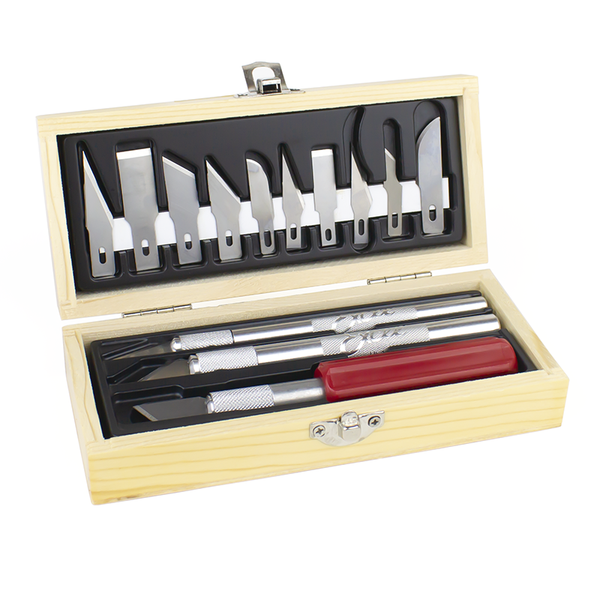
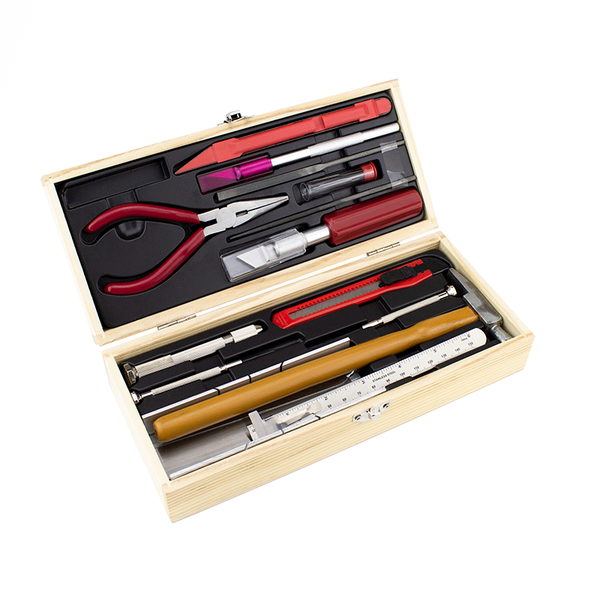
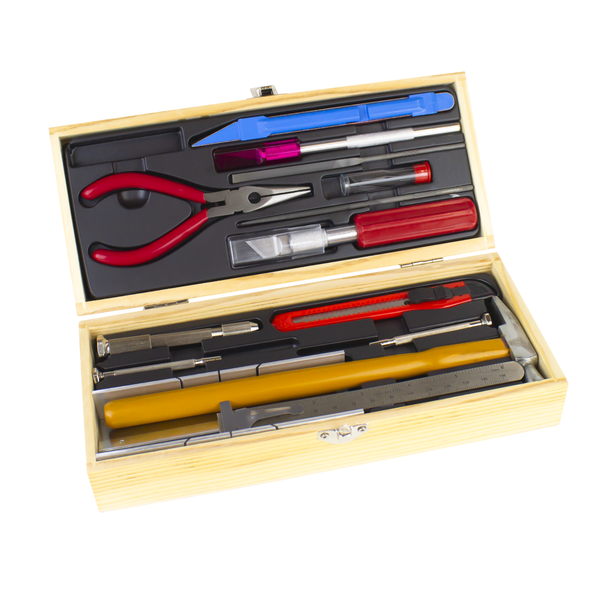
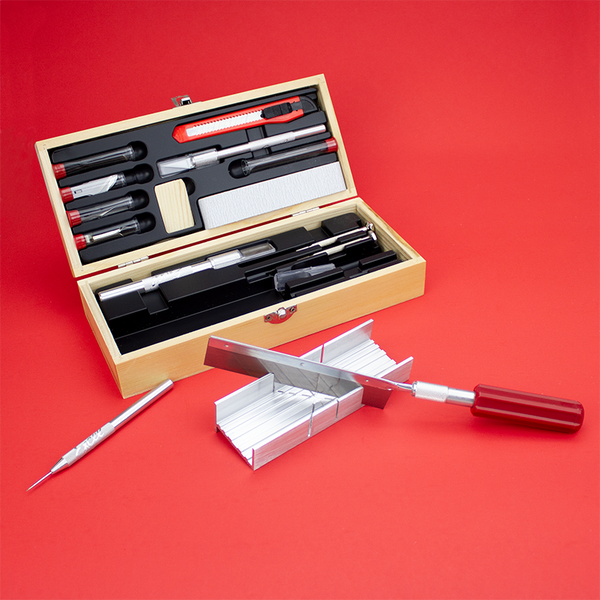
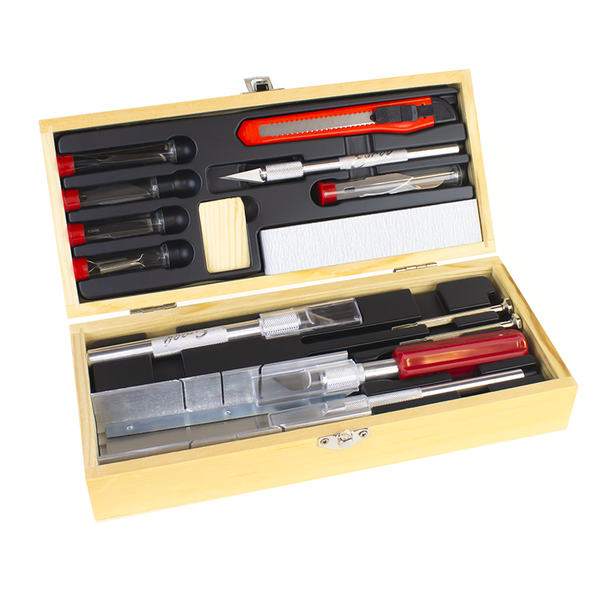
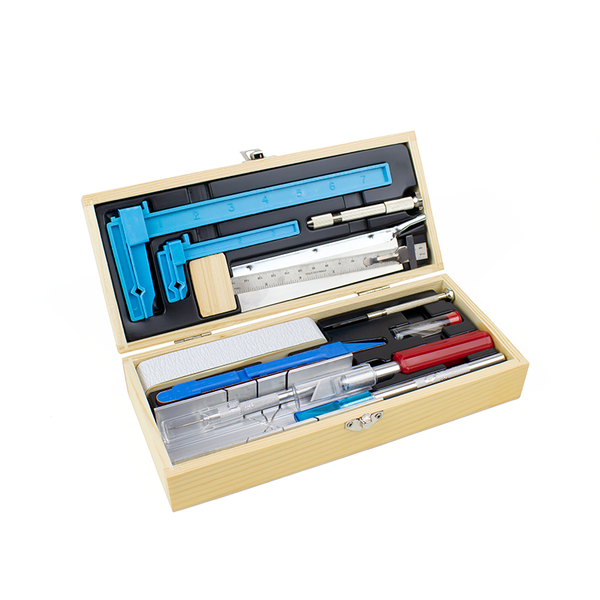
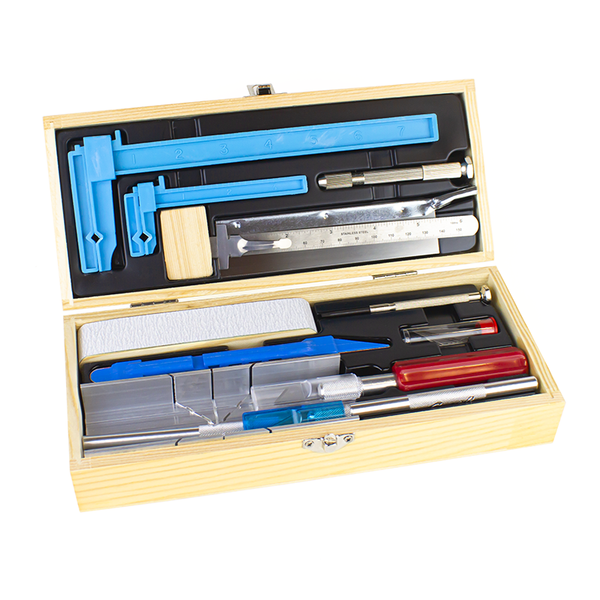
Browse Our Model Railroad Toolsets
The Foundation:
Every train track needs a good base. You can buy an inexpensive table and designate it for your train project or build your own. The benefit to building your own is that you can create valleys, hills and riverbeds, by building platforms of multiple heights as well as giving yourself the option of adding on at a later time.
Common materials for building model train platforms include plywood for the surface and framing wood like 2x4s for the platform legs and cross-bracing. Make sure your structure is stable and level. As a beginner, start small, you can always add sections later.
Paint the surface of your platform and pick a color that suits your scenery, if you’re going to do hills and woods, then a darker brown is a good option. For a busy cityscape, opt for a gray or charcoal that will easily blend with roads and buildings.
Layout:
Planning is everything. Layout your track on the surface of your platform. Customize the track’s path and its elevation. Test the train, especially around the bends, and adjust as needed.
Once you’re happy with the layout and you tested the trains, it’s time to secure the track to the table. You can use the traditional nails or tacks (don’t forget the nail setter) or use clear drying glue.
Landscape:
Consider your general landscape - hills, tunnels and bridges. Mark out the elevations. If you are buying ready-made bridges and tunnels, fit them first before securing them down.
This will also help you determine how many miniature trees, grasses and other natural landscape details to buy.

Source: Steve Mann/shutterstock.com
Wiring:
If you want your railroad to operate and your towns to light up at night, you are going to need to wire the layout and tracks. The speed of your locomotive will be determined by the voltage so consider all these factors before you start wiring. Also, look into new and modern controllers like a Digital Command Control so each track can operate individually!
Towns and Structures:
Plan for buildings, towns and stand-alone structures on your layout in case you’re going to need to wire it. Sketch the general location for each building around your track. Adjust as needed before wiring for electricity. Consider the elevation of the buildings as well. Will they be on a hill or in a valley?

Source: Mau47/shutterstock.com
Find the Right Stainless Steel Tweezers Here
The Details:
Our favorite part is designing the individual buildings and the surroundings directly near them. Building a small town station and the town it serves is so much fun! No detail goes unconsidered. Roof shingles, shingle colors, house styles. It’s all very detail oriented. Start with the general structures then add the fencing, stone paths and sidewalks. Shrubbery and flowers, street signs and fire hydrants. Use stainless steel tweezers to glue the small details precisely in the right spot.
Check out the many tools and model railroad toolsets to help you along the way in building your model railroad.