Homemade Mother’s Day Card Ideas
Handmade card for mom may not always be perfect, but it’s always thoughtful! And we’ve got a fresh batch of new ideas for DIY Mother’s Day Cards that are chic, fun and even relaxing to make. So start your favorite playlist or podcast, get your working space ready and get creative.
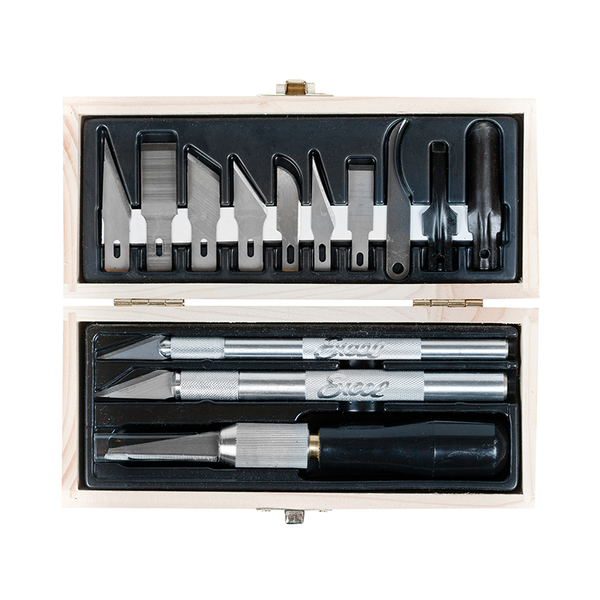
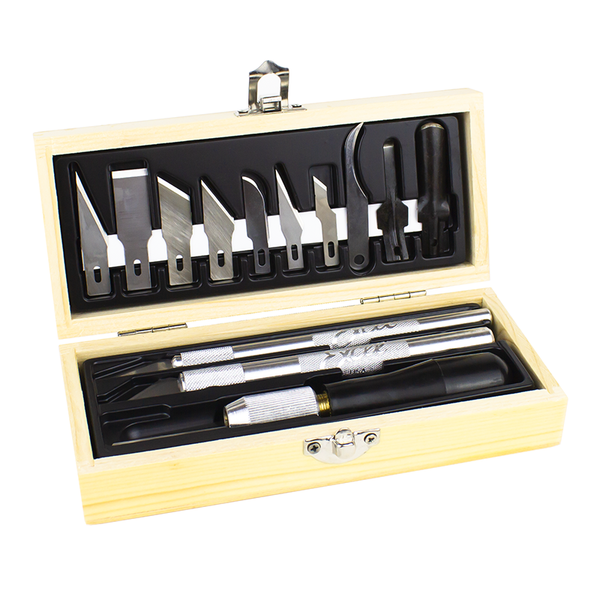
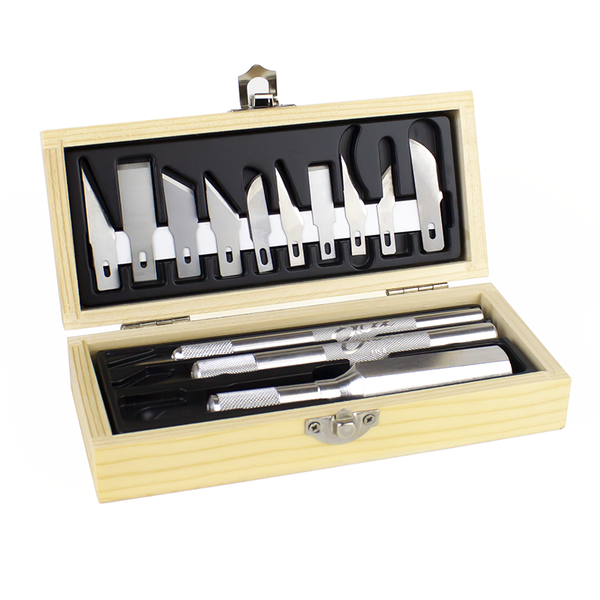
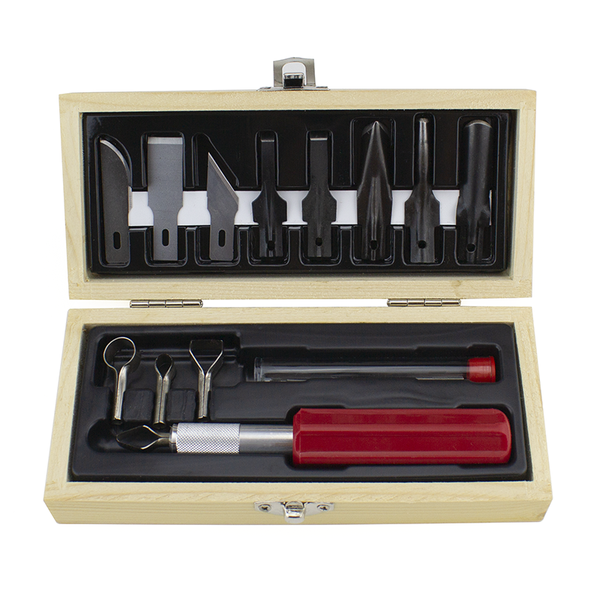
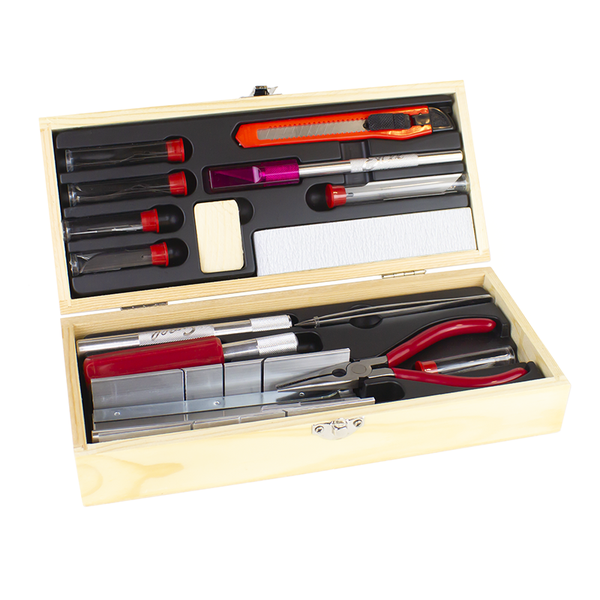
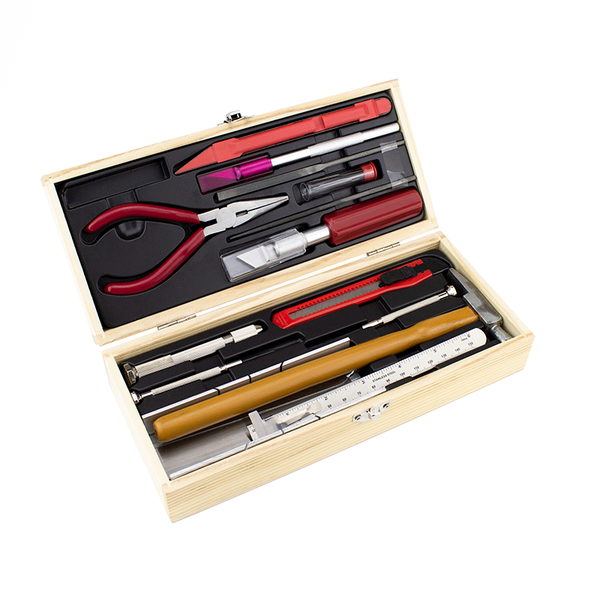
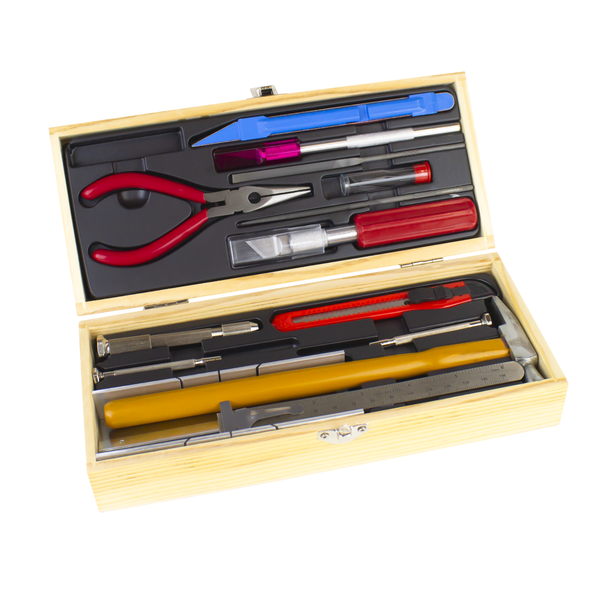
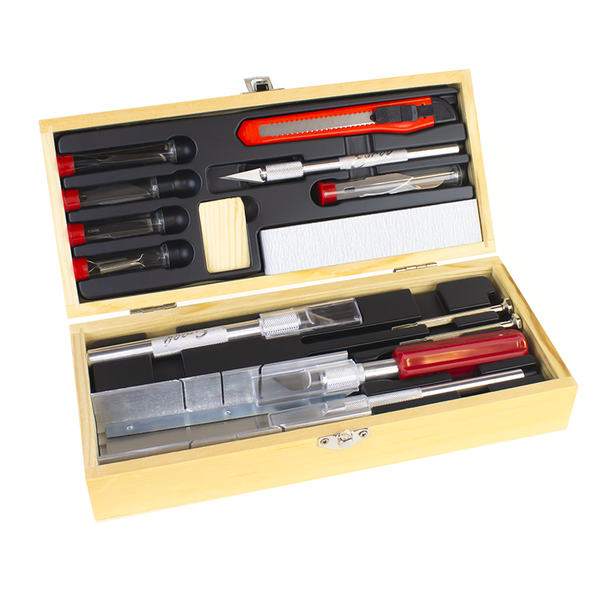
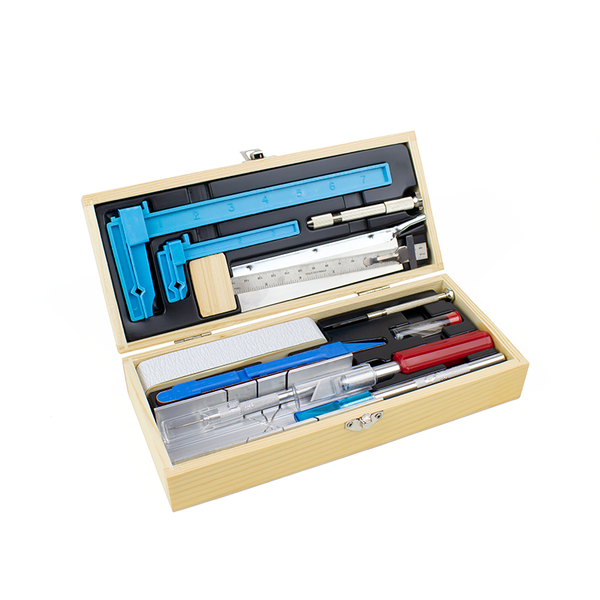
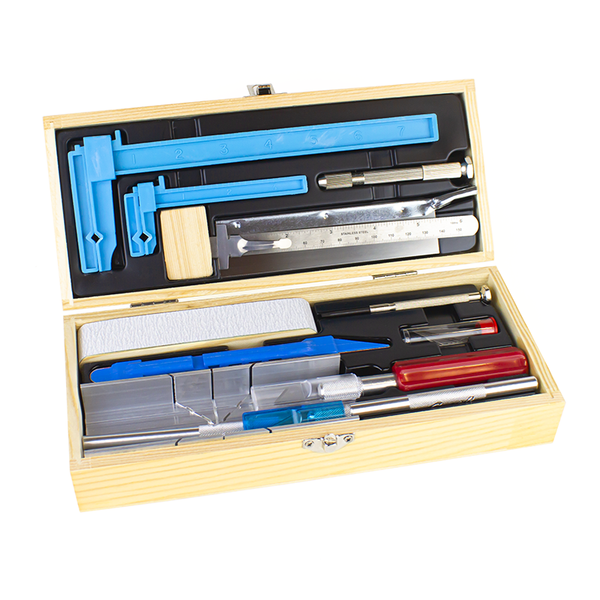
The basic supplies you’ll need:
- Cutting mat to protect your working surface
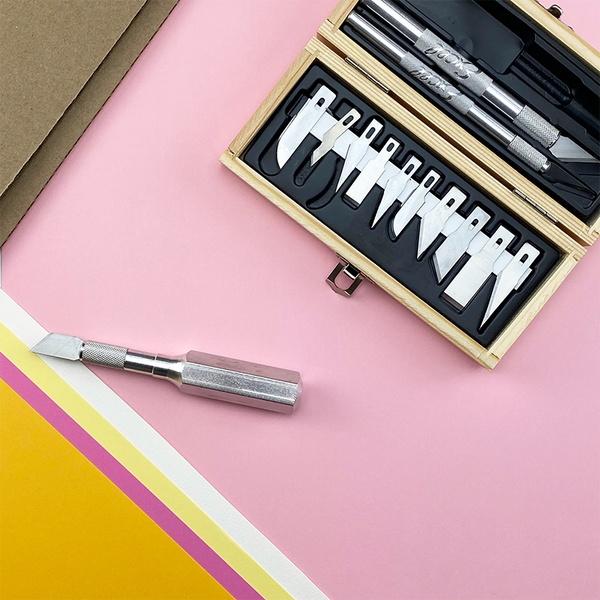
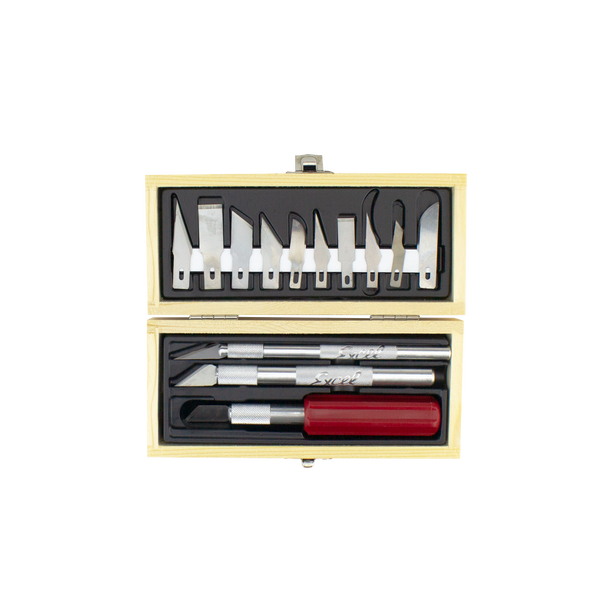
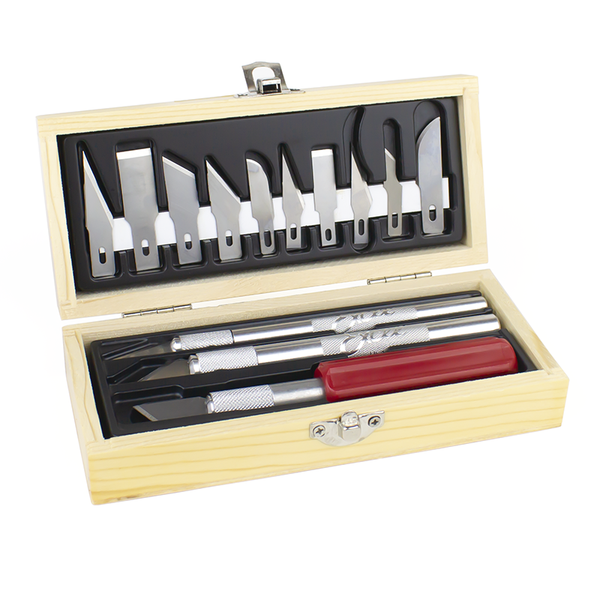
- Craft knife - also known as a Hobby Knife
- Fresh blades - the #11 Double Honed Blade is most widely used
- Cardstock or craft paper
- Pencil
- Ruler
- Glue
- Awl, also known as a scribe tool - for scoring paper, making puncture marks, adding and cleaning up glue as well as aiding in placement of small parts
To learn more about the various blades and how to use them, check out our blog!
First, a step-by-step refresher for making a card blank -

Start with an 8.5x11'' sheet of craft paper in the color of your preference. On your cutting mat, using a ruler and a hobby knife, cut the paper in half. Rotate the paper then using a small embossing stylus tool and a ruler, score the paper down the middle. Fold, press and unfold. You now have a card blank and are ready to decorate.
You’ll need an insert for these cards, to cleanly hide the backside of the work, for this follow the above directions but decrease the dimensions to 5.25x8” and score down the center so when folded it measures 5.25x4” and neatly fits on the inside of the card.

String Art Card -
To make this card you’ll also need the following:
- Embroidery needle
- Embroidery thread
- Tape - to secure the thread ends
On a piece of printer paper measuring 4.25x5.5” draw a shape like a heart or “mom” in bubble letters, your choice or download our template of the design below. Place directly over the front side of your card blank, make sure it’s unfolded so you don’t puncture the back!
Then using a needle point scribe, along the outline of your design, make holes about every 3/16” - the spacing doesn’t have to be exact. Press through the template and the card, and be sure to protect your desk surface with a cutting mat.
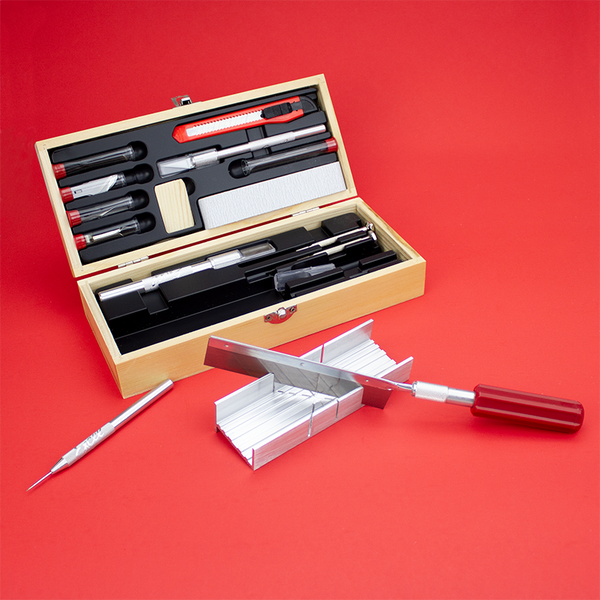
From a simple design to stylish & retractable - we offer an array of awls.

Once the design is outlined with puncture marks, remove the paper template to reveal the letters. This looks kinda cool on its own in a minimalist-monochrome way, so you could stop here if you’re short on time. ;)
Using embroidery needle and thread, “fill” the shape in. Pull the needle and thread through to the front of the card, tape the very end on the inside to the card. Then bring the thread to the opposite side of the shape or letter. Always tape down the ends of threads on the inside. When finished, line the card with an insert by gluing or taping it to the left side only.

Cut Out with Stripes Card -
Simple, sweet and chic, make this card personal with your own hand drawn “MAMA” or download our template.
If using our template, place it over the front of the card, and use tape secure to the cutting mat. Don’t use tape on the card blank, just the template. Using a fresh blade, carefully cut the letters out.

Then using the ruler and knife cut thin strips of complementary paper shorter about 5” in length, just enough to cover the “MAMA” cut out.
One by one arrange the stripes and tape together, then tape to the top and bottom edges of the card. Glue or tape the insert to the backside of the front only.
Alternatively, the stripes can be arranged horizontally as well, just make sure to cut the strips down to size to fit the card’s width.
Have fun with color here! - use two, three or a dozen colors.

Silver Foil Letters -
For this card you will need additional supplies:
- Rubber carving block
- Silver foil
- Ink pad
For a chic & rustic look, layer white ink and silver foil. We used the same template to cut out letters from a rubber carving block with our K18, and using a white ink pad, stamped the letters on the front of the card in the same layout. Read more about how to make your own stamps here.
We used the template sheet from the previous card to cover the front of our card so that only the white inked letters are visible, this will help to keep the glue on the letters and off from the rest of the card. One at a time, apply glue to the white letters, purposefully skipping some areas - this will create that rustic layered look, where the white ink shows through.

Silver foil sheets come on a tissue paper, take that and place it over the glue covered letter, press firmly and pat down until the foil sticks to the glue. Remove the tissue paper. The letter will look a bit messy at first, so using an awl, gently pick off excess foil and then remove the white paper to reveal the silver foil letters. Use the tissue paper the foil sheet was on to further press any “fly-aways”.

Scrap-paper Mosaic Card -
To complete this card, you may also need:
- Flat tweezers
This idea was inspired by kindergarten art where kids glue pieces of paper on shapes or cut cuts, however we slightly refined it for this project.
Pick a few colors that coordinate with your blank card and tear into tiny pieces. On the blank card, draw the design lightly in pencil.
Add glue to the back of each piece, then place within the letter outlines. Since the pieces are small, we found it was very helpful to use the flat tweezer and needle point scribe to add the glue, place the pieces and adjust them.
Check out our Instagram @excelblades to view reels of how we made these cards!
Have fun!