How to Make an Artificial Flower Arrangement
Flowers and greenery add beauty to the home, the downside of real flowers is that they wilt and don’t last. A lovely alternative is an artificial flower arrangement. And for this, you have several options to create artificial flower arrangements.
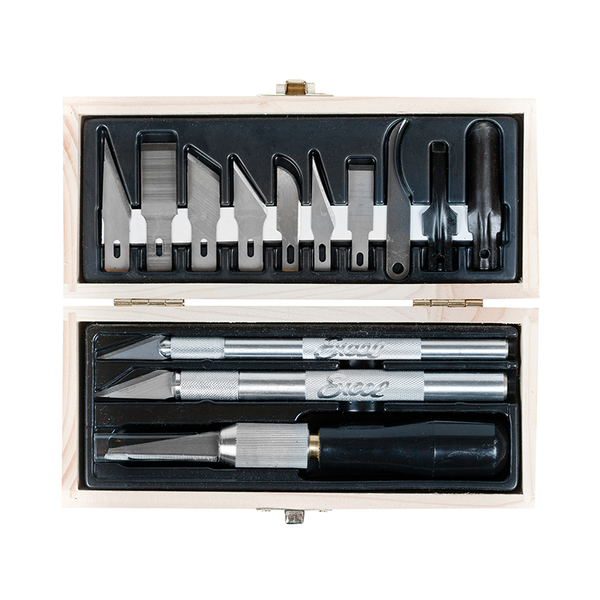
One option is to purchase a sprue cutter, silk flowers and greenery from the craft store (don’t forget to check out the sale section!) and put them together. This is the quickest way to create an everlasting floral piece for your space.
Purchase a Sprue Cutter for Your Next Artificial Flower Arrangement
For this project you’ll need the following supplies:
- Silk flowers - select these based on the surroundings where the arrangement will stand. Flowers should stand out. Try to choose several bud sizes. Then select greenery in at least two shades that complement the petal colors.
- Vessel - This should match the flowers and greenery you chose. For example, use a white ceramic pitcher for a country-chic kitchen arrangement or an earthen vase for the boho living room. Play around with ideas and styles.
- Floral tape - the one with the sticky backing
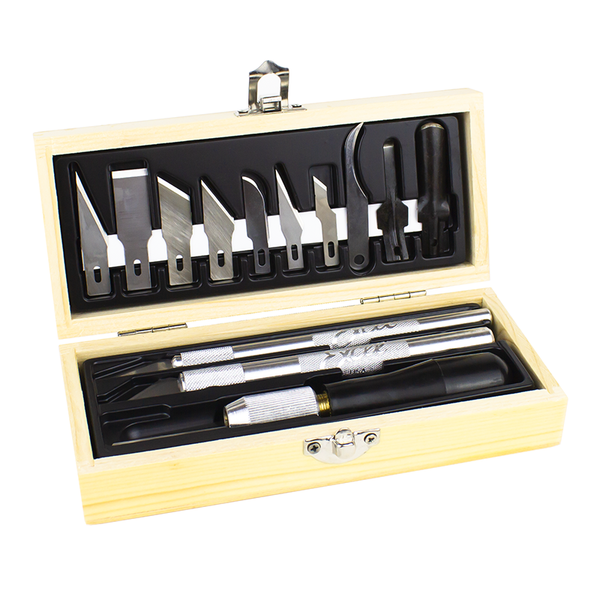
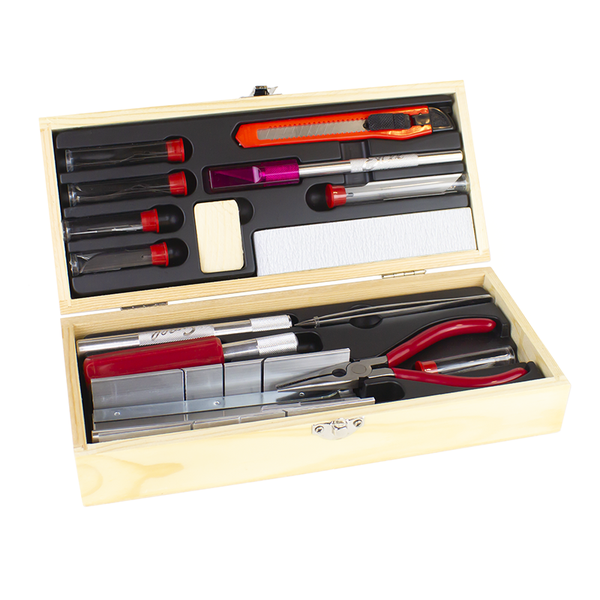
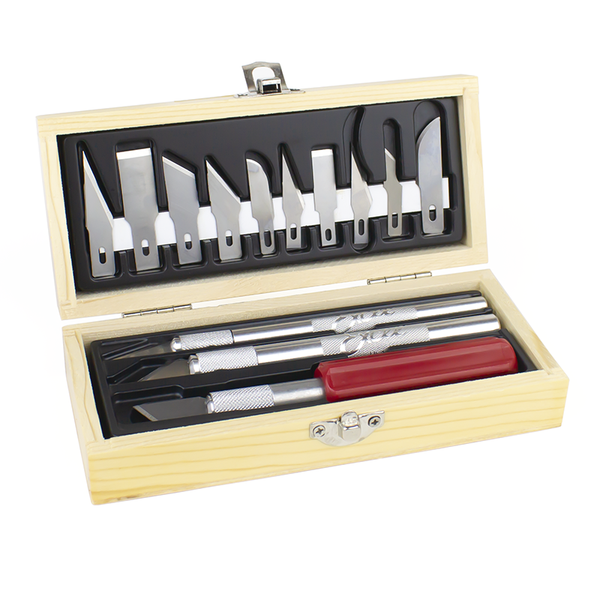
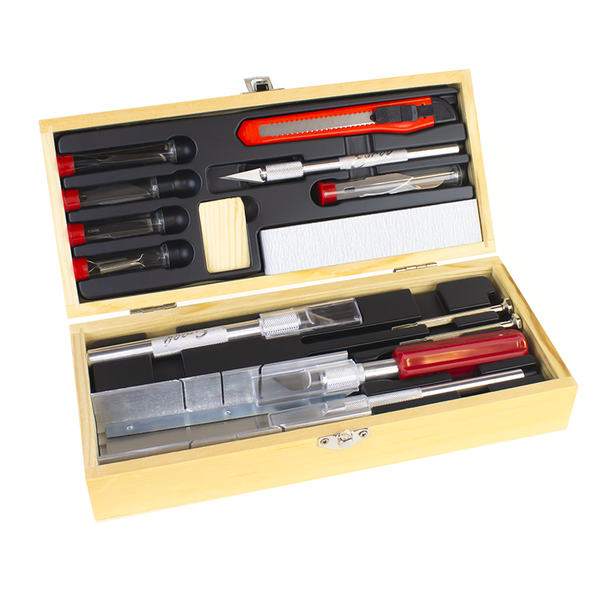
- Wire cutter pliers
- Scissors
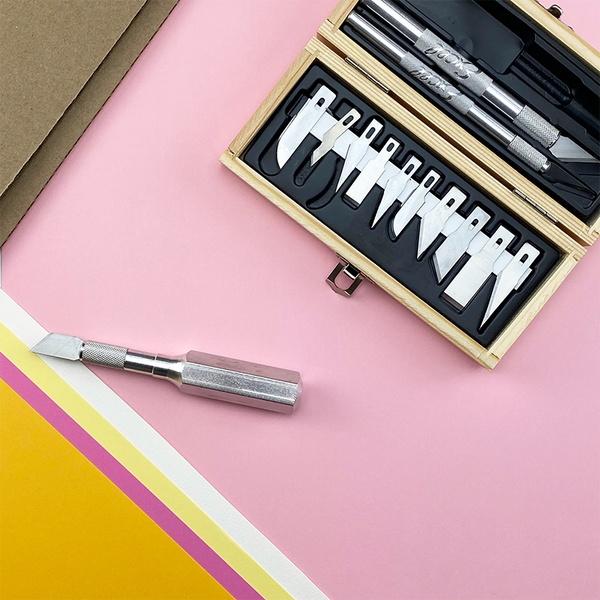
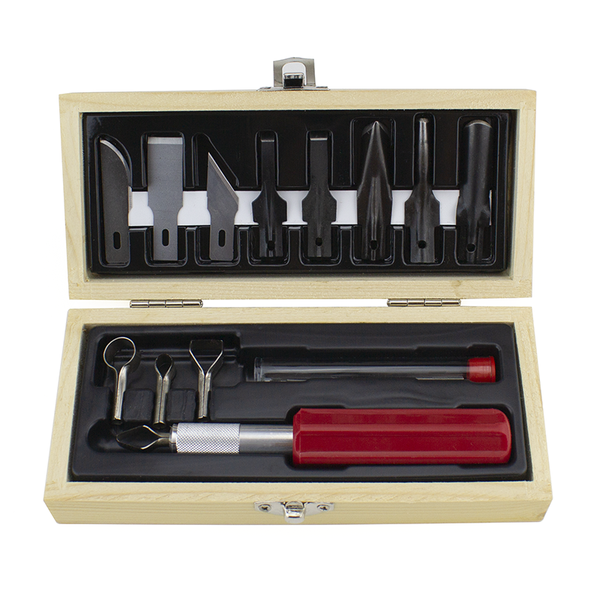
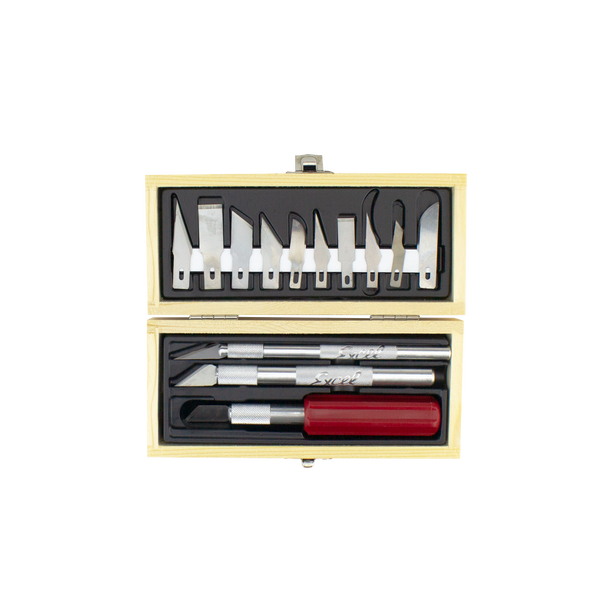
- Craft knife (optional) - for trimming tape ends

Step One:
Start by creating a grid with the floral tape over the opening of the vessel you picked out for the floral arrangement. The openings between the tape should be about half an inch apart. The tape should be just at the edge of the opening, cut the tape to length using scissors and trim away the excess. Regular office tape works too, test ahead of time.
Step Two:
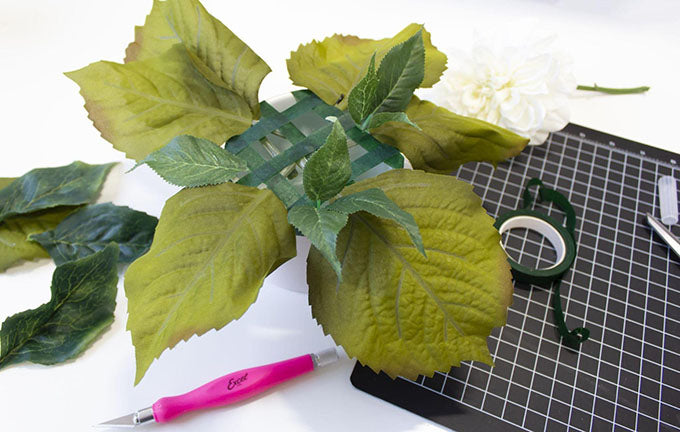
Add greenery stems around the outer edge of the vase. Cut some stems longer so that they cascade and arch downward. Greenery should cover the rim completely and should definitely hide the tape.
Decide if you’d like the arrangement to be symmetrical or asymmetrical. If symmetrical, start at four points of the circle with the same greenery cut to the same length and fill in in between. Repeat the design in each quarter. If asymmetrical floral arrangements are more your vibe, start in one spot and work your way around. Check placement every few stems to check if it looks good.
Step Three:
Once the base greenery is added and you’re happy with the look, add the flowers. Start with the largest blooms. Before cutting the stem to length, eyeball the height. Cut a bit longer, test in the vessel and trim the stem to length as needed. It’s easier to cut away than to add length to a stem if it’s cut too short.
For a symmetrical arrangement, mirror the placement of blooms in each of the sections. For the asymmetrical bouquet, place and replace to see what works. Use the rule of three and use an odd number of flowers.
Step Four:
Fill in the space between the large blooms with smaller flowers, then the buds if your store-bought stems have them. Recess a few slightly behind the larger ones for depth interest and some slightly above. Flower petals should not create a “perfect dome” this will look unnatural and take away from your arrangement design.

Step Five:
Add a few stems of greenery in between the flower blossoms. Do this sparingly and tactfully. You may not need to do this step at all.
Voila! Place the floral arrangement in its new space and don’t forget to share your creation; tag us on Instagram: @excelblades.

Another option for an artificial floral arrangement is to make them yourself from paper.
There are many, many techniques to making paper flowers and they can be made from a variety of papers; crepe paper, tissue paper or craft paper to list a few. Check out our earlier article: How to Make Paper Roses for an easy step-by-step technique.
To make paper flowers, you’ll need a few craft tools:
- Paper - crepe paper, tissue paper or craft paper. Choose the paper that best suits your project idea and flower.
- Glue
- Wire
- Wire cutter pliers
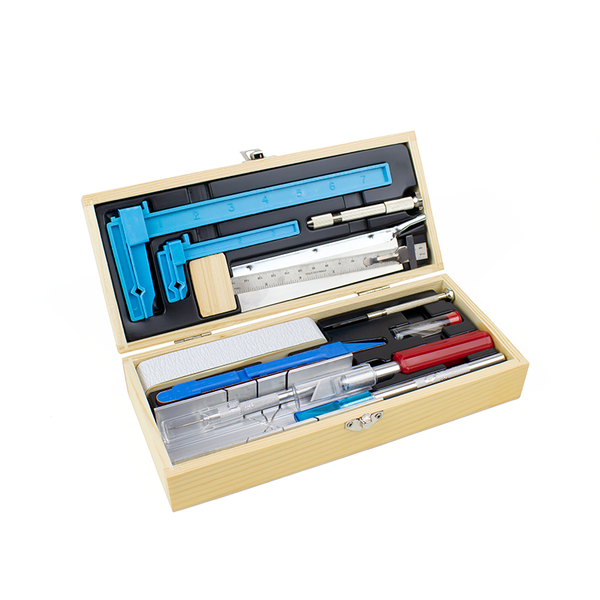
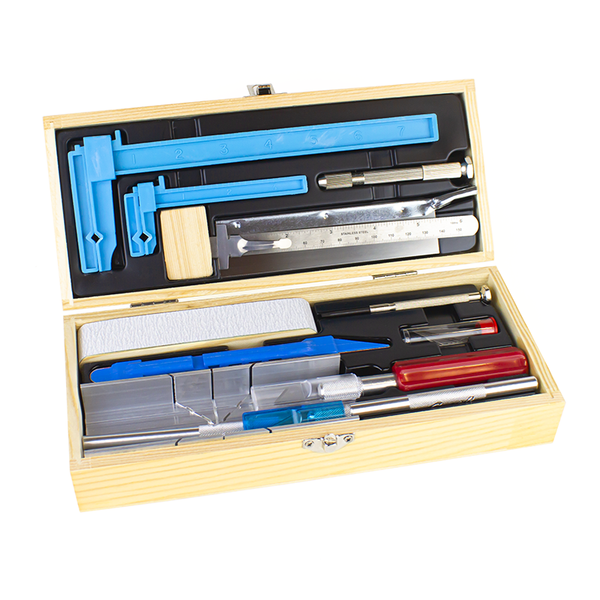
- Stainless steel tweezers
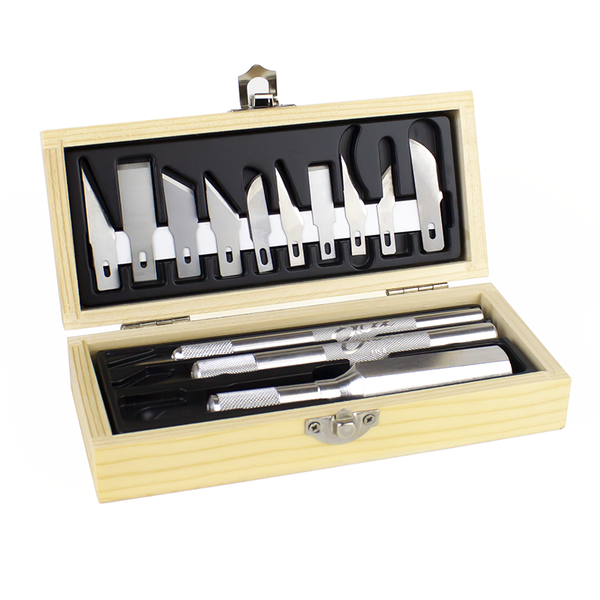
- Scissors - depending on the project, you may need specialty scissors like the Curved Lexan Scissors which make it easier to cut precise curves for petals. The shorter cutting edge provides better control when cutting.
- Floral tape - the stretchy kind
- Flower petal and leaf templates
Step One:
Cut out the petals and greenery. Cut the wire to length.
Step Two:
Start constructing the flower by attaching the center buds or petals at one end of the wire. Use glue and wait to set before moving on to the next piece.
Step Three:
Once the blossom is constructed, wrap the wire with floral tape. Start at the base of the flower and work your way down. Stretch the tape so it sticks to itself. Add more leaves along the way as needed.
Felt and fabric flowers are made generally using the same steps as described above. Choose softer felts that won’t crease when assembled into flowers. Fabrics suitable for flowers are satin and satin ribbons, tulle, chiffon and soft velvets.

A popular and quick way to spruce up a space is with wired felt leaves. These can be formed into a wreath, a garland or an arrangement. And these are not just for autumn or the winter holidays! Use pastel colors for the spring or add a summery feel with tropical colors.
For a wired leaf arrangement you’ll need the following supplies:
- Felt
- Wire
- Wire cutter plier
- Scissors
- Fabric glue
Step One:
Cut out leaves as per your design, and cut a front and back for each. If you are cutting intricate details or shapes use a craft knife for more accurate cuts.
Step Two:
Cut the wire to length with the wire cutter. Glue to the inside of the leaf about three-quarters of the height of the leaf. The wire should not stick out at the top of the leaf. Add more glue to cover the surface and glue the top piece of the leaf. The two pieces should overlap perfectly with the wire sandwiched in between.
Step Three:
Once you made several of the leaves and the glue is properly set, the last step is to select a vessel and style the wired leaves into an arrangement of your design.