How to Make Paper Roses
Decorating with paper flowers is easier than you think! This time around, we’re taking cues from luxury department store window displays and elaborate wedding photo backdrops to show you how easy it is to bring some of that skill into your home this Valentine’s Day.
You’ll need a few supplies:
- Cutting mat for your workspace – a larger one like the 12”x18” is better
- Craft scissors
- Ruler (optional)
- Hot glue
- Pencil and eraser
- Paper clips
Select your paper colors. We’re using a few shades of red and our paper size is 8.5”x11”.
Start by lightly outlining a circle in pencil on your paper. Ours is approximately 8.5” in diameter, the largest we can fit on our paper.
Next, draw a spiral. This will require a bit of planning. Now, decide the approximate height of your flower. If you’d like it to be 1”, then your spiral coils should be approximately 1” wide.
Something to note: You will have more “petals” and the flower will be more dense if the coil strip is narrower than you would have when making a wider coil.

For ours, we made wider coils in a darker color and narrower coils in a pinkish red to use as flower centers.
Because roses are organic in shape, the coils don’t have to be cut perfectly. In fact, slight variations in width and scallop shape will add to the overall look of each paper flower.
Once decided, cut out your spiral and, using scissors, shape the outer edge like in the image to give the paper a more petal-like look. To achieve the scalloped edge, we used the Curved Lexan Scissors. These have a curved sharp edge and lend themselves better to cutting rounded shapes.
Once you cut the edge into scallops – starting at the outside end of the spiral – start wrapping into a cone shape, following the natural curvature of the bottom edge so that the “petals” will naturally fan out. Dab a bit of glue every inch or so in order for the flower to hold its shape and not unravel. Use a paper clip to hold in place until the hot glue sets.

For smaller “buds,” use a part of the spiral. You can get up to three from one 8.5”x8.5” spiral.
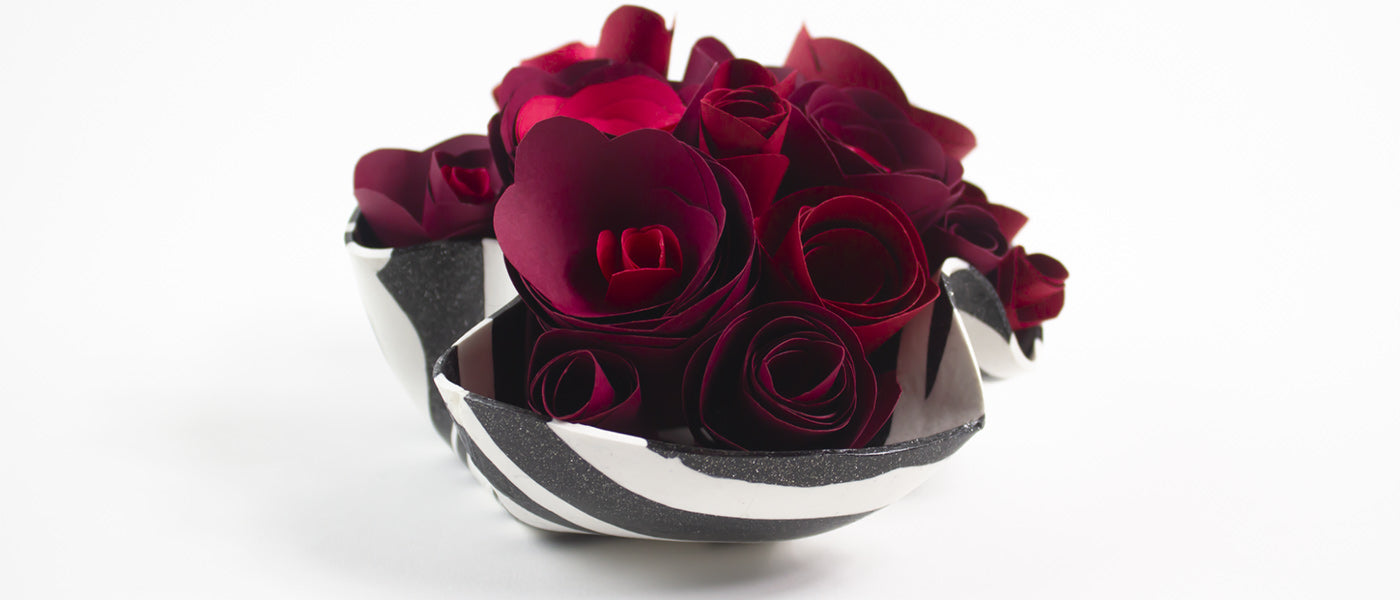
There are a few ways you can finish your paper roses. We glued ours together on the sides and placed them into a polymer clay bowl from one of our other tutorials. You can use any vessel around the house to create a centerpiece for your table or an accent piece for your office desk.
For a longer rose to place in a vase – using florist wire and tape, or even pipe cleaners – add stems by gluing to the base of your paper flower. Add paper leaves to complete the look.
Another option is to glue the rose heads in place in a paper box lined with the same color paper and make a shadow box decoration for the wall. You can get very creative with this simple flower. Have fun!
