How to Make Polymer Clay Earrings
Polymer clay earrings are a fun and easy way to customize and coordinate your look. You can make a pair to go along with an outfit in a short time. Create coordinating colors or patterns to match your outfit or add a pop color to that LBD.
What is polymer clay? It’s a pliable and workable modeling medium made from polyvinyl chloride. It contains plasticizers that make it more flexible. Read our previous blog on How to Use Polymer Clay to learn more.
The short of it — polymer clay can be shaped, molded or stamped when soft. After it’s baked, it becomes solid and can be painted, sanded and polished.
Off the shelf colors can be combined and worked into custom colors. There’s many creators sharing their color recipes on social media.
This is a medium that’s easy to work with and allows for lots of creativity and therefore perfect for custom jewelry like polymer clay earrings.

Prep Your Workspace
To work the clay, you’ll need a flat, smooth surface. Polymer clay can stain certain surfaces, so we recommend working on a cutting mat or parchment paper. If working on a cutting mat, wipe it clean of dust or particles because these will definitely stick to the polymer clay. If working on parchment paper, wipe clean the surface beneath it and then tape down or secure the corners so that it does not move around.
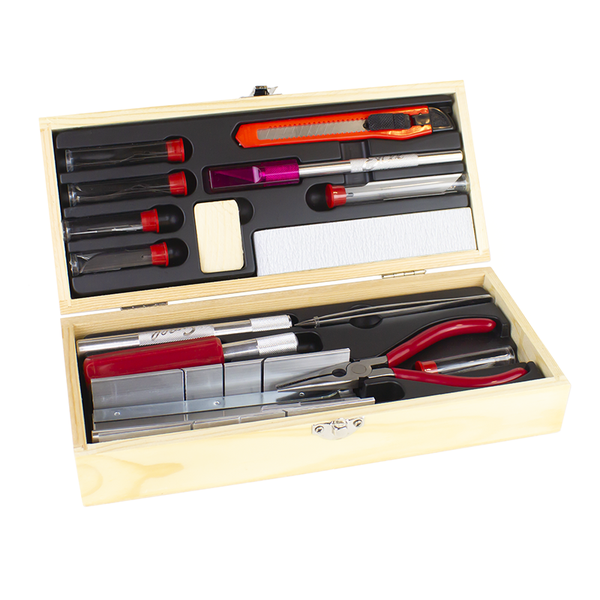
Supplies
You’ll need a few supplies and materials for this project. We’ve listed the items you’ll need to gather, as well as a few optional items to inspire your design.
- Polymer clay — the main ingredient in your choice of colors
- Earring hardware — posts or hooks, jump rings, other hardware to complete your design
- Acrylic rolling pin — to roll the clay flat and smooth
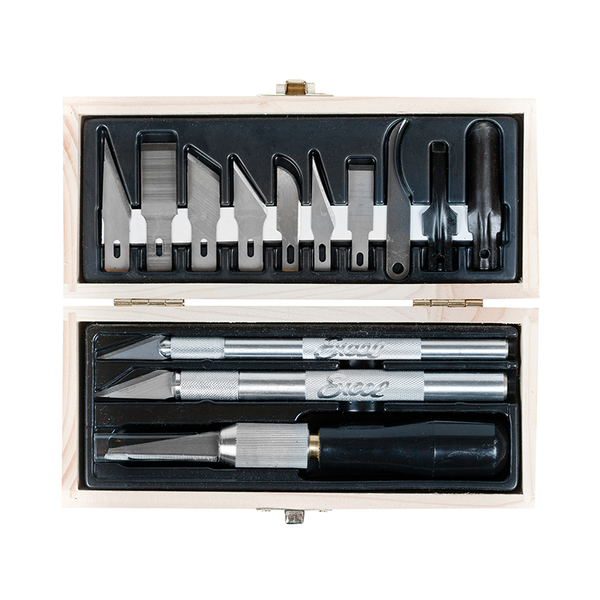
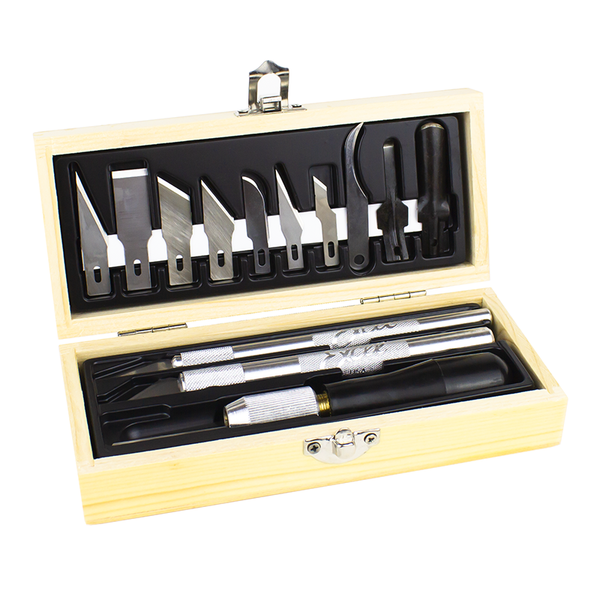
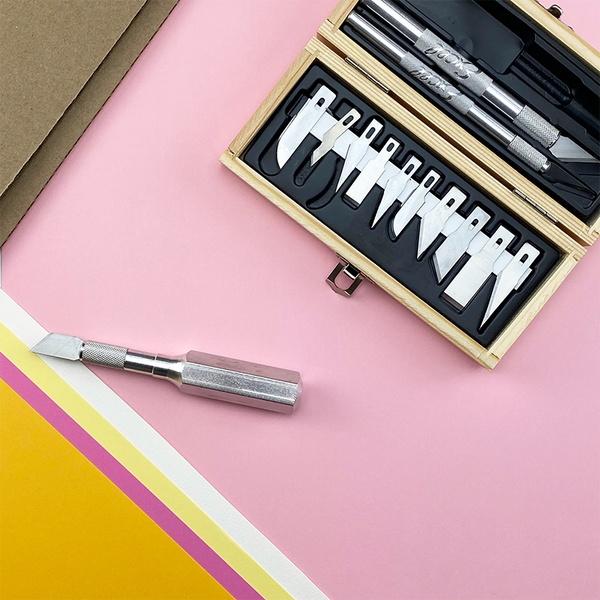
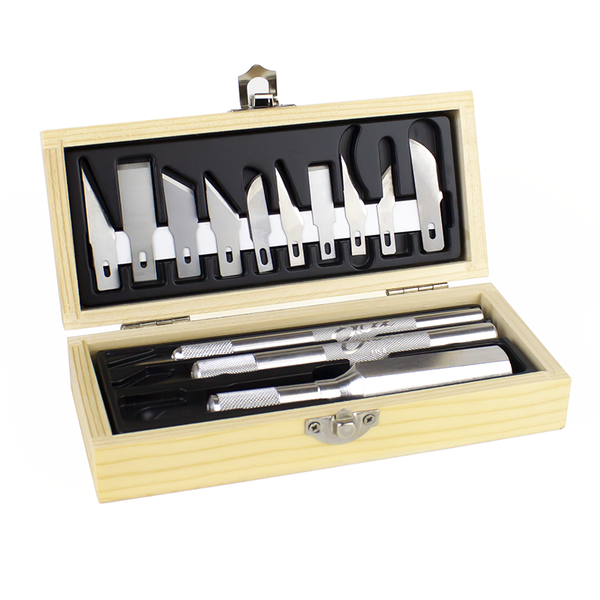
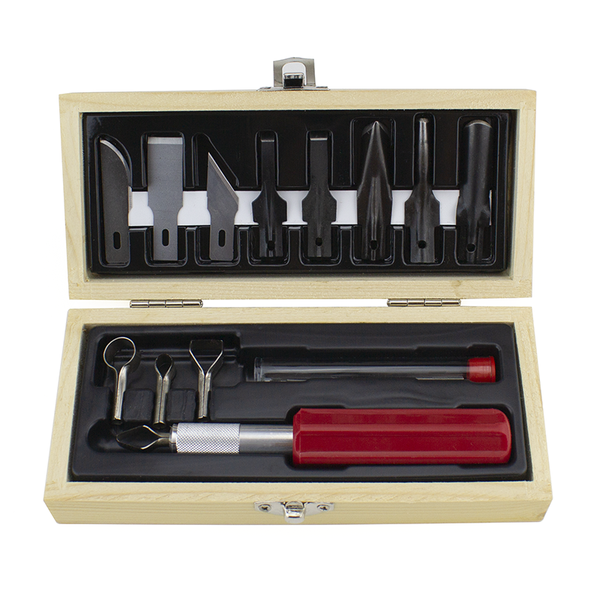
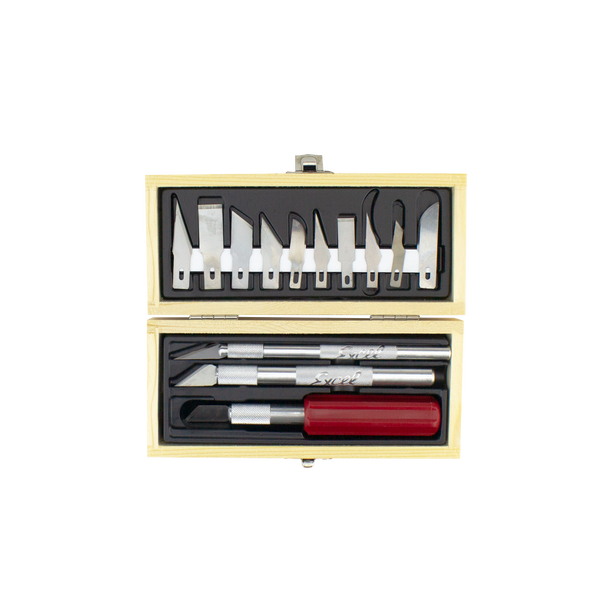
- Craft knife
- Awl — to create clean and precise holes for earring hardware
- Pliers
- Baking sheet
- Parchment paper or aluminum foil — to work on and to bake on
- Sanding sticks — to smooth out any imperfections after the clay earrings are baked and cooled
- Superglue — to glue posts or other decorative items to the polymer clay once baked and hardened
- Glass beads
- Embosser stamps — Wooden, rubber or 3D printed, these are a wonderful way to create designs in the polymer clay.
- Clay cutters — like a cookie cutter, but for clay. A great way to cut perfectly symmetrical shapes. There’s a ton to choose from creators on Etsy.
Condition the Clay and Mix Colors
You’ll need to soften the clay first. To do this, knead it in your hands until soft and pliable. Clay should not crack or break. If it does, work it some more.
To create your custom color, mix the formula colors together by kneading them. Some polymer clay artists use a pasta machine for this step.
If you are creating more than one color, wash your hands between colors to avoid color transfer.
Some Techniques to Explore
There’s more than one way to make a polymer clay earring. Some techniques are more elaborate and require a few additional steps, tools or time. Below are a few to inspire you.

Dangling Slab Earrings
This type of earring is going to require a post or a hook and jump rings, as well as an awl to create the holes for the hardware.
First, select the background color(s) and, using the acrylic rolling pin, flatten the clay into a slab that is no less than ⅛” thick.
To decorate the surface of the slab with other clay colors, cut small pieces using the craft knife and place onto the surface using the blade tip. The design can be random, floral or geometric, to name a few. Once happy with the look, use the rolling pin to flatten the small pieces into the background slab until smooth.
Cut two or more shapes for each earring using clay cutters or your craft knife. Use the awl to create the hole for the jump rings.

Stud Earrings
For the minimalist, a small custom stud is just what is needed. For this style earring, you’ll need a post and any decorative items like silver foil or paint to decorate the surface.
Work two small pieces of clay into the shape of your choice. This could be a simple sphere or a water drop shape. Or cut an intricate shape like a star using your craft knife.
Tool tip: Use an awl to gently score the area where the post will be attached. Creating a bit of an uneven surface will help the glue to adhere better to the baked, hardened clay.
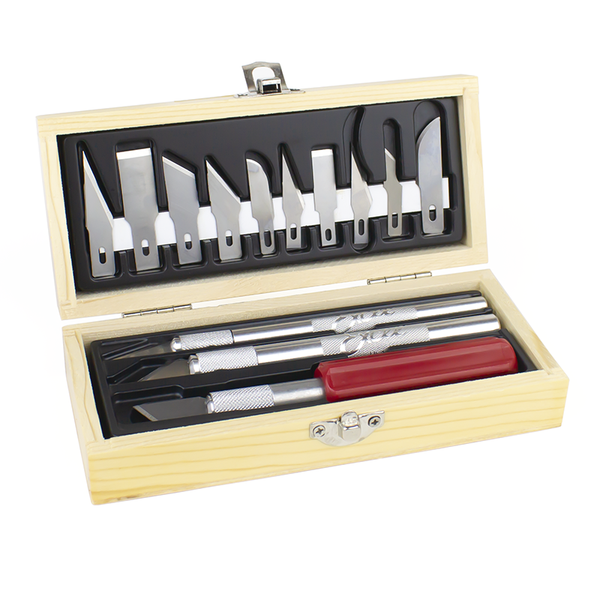
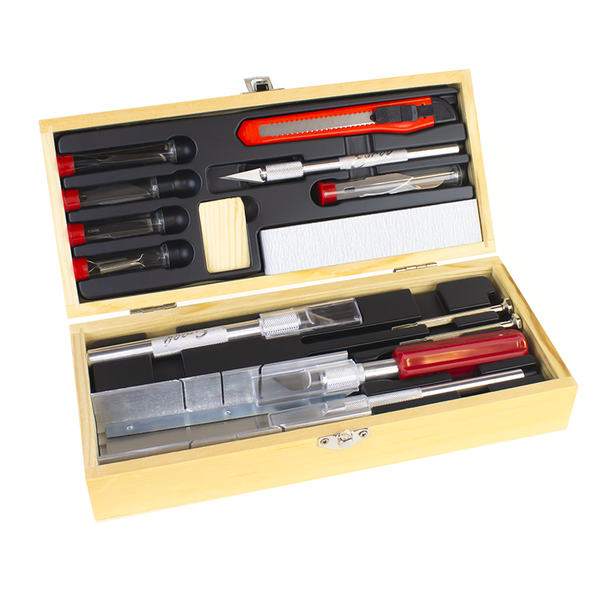
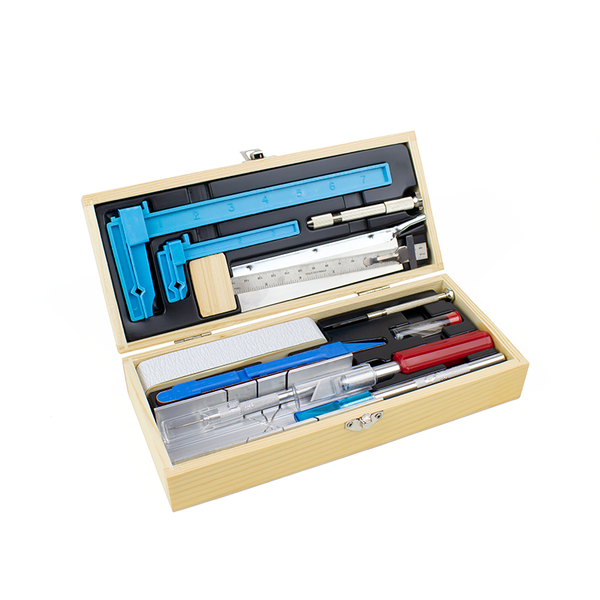
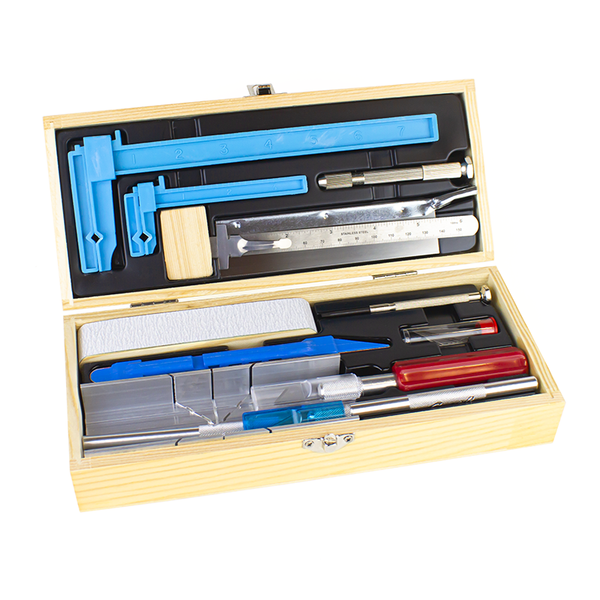
Precision Cutting Requires Precision Craft Knives. Check Out the Index Finger Knife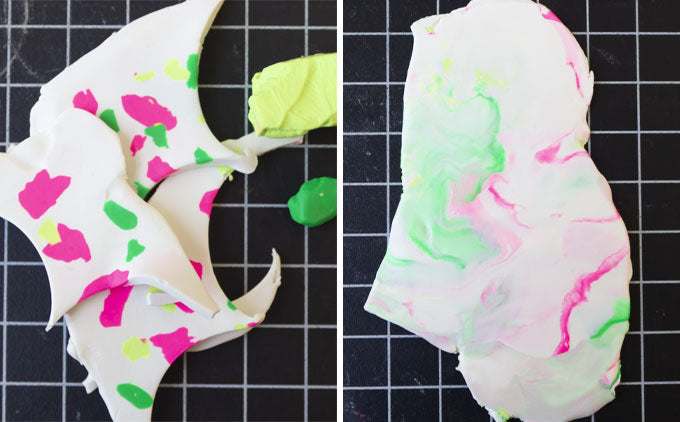
Marbling
We love this polymer clay technique for a few reasons. It’s easy, it looks chic and it lets us do something with the little leftover bits of color so there’s no waste. We used this technique to make chic fall coasters last year.
Simply select three to five colors and gently smush them together. Pull and fold to create that random wavy look of marble. Don’t work the clay too much; otherwise, you’ll blend all the colors together into a brand new one. A few choice folds and pulls should be enough.

Terrazzo
Terrazzo is a term used to describe composite material used in flooring or wall design, but it works here, too! In polymer clay jewelry, instead of marble chips, add pop and contrasting colors of clay to the background slab. The general rule is to make the shapes irregular and into a random all-over pattern.

Simple Spiral Cane (or Jelly Roll)
A cane is a polymer clay log, with the design visible in the cross section. This is a great technique for stud earrings. To create the spiral, roll out two colors of clay into flat slabs on the work surface and lay one on top of the other. Using the acrylic rolling pin, flatten and join the two colors. Then, using your fingers, gently roll up like a jelly roll. Roll slowly so as to not trap any air bubbles. Reduce the cane to the desired diameter by gently stretching the cane.
Additional Tips for Working with Polymer Clay
As with any creative medium, there are tried and true tips and tricks to make the best of the experience and avoid mishaps or unwanted results.
Baking Temperature
Temperature settings for baking clay are important to follow; otherwise, the edges may darken or burn. Follow the instructions on your clay packaging for best results.
Hardware
Use an awl to create uniform holes for hooks or jump rings in the clay. Make sure the diameter of the hole is slightly bigger than the jump ring so that it fits and moves around.
Refining the Surface
After the earrings have baked and cooled, refine the edges, hardware holes and earring surfaces by sanding and smoothing out the jagged bits. Use a fine grit sanding stick for a scratch-free cleanup.
Attaching Hardware
After you have cleaned up each piece, the last step is to attach all the hardware. Use pliers to close jump rings or hooks. Choose a strong flexible glue to adhere posts. Applying the post with tweezers is easier and more precise than with just fingertips.
Have fun and when you create your earrings, don’t forget to tag us: @excelblades. We love to see and share your work!