3 DIY Thanksgiving Decorations You Can Make at Home
Make this year’s Thanksgiving decorations one-of-a-kind with a personal flair. We have a few ideas to get you started!
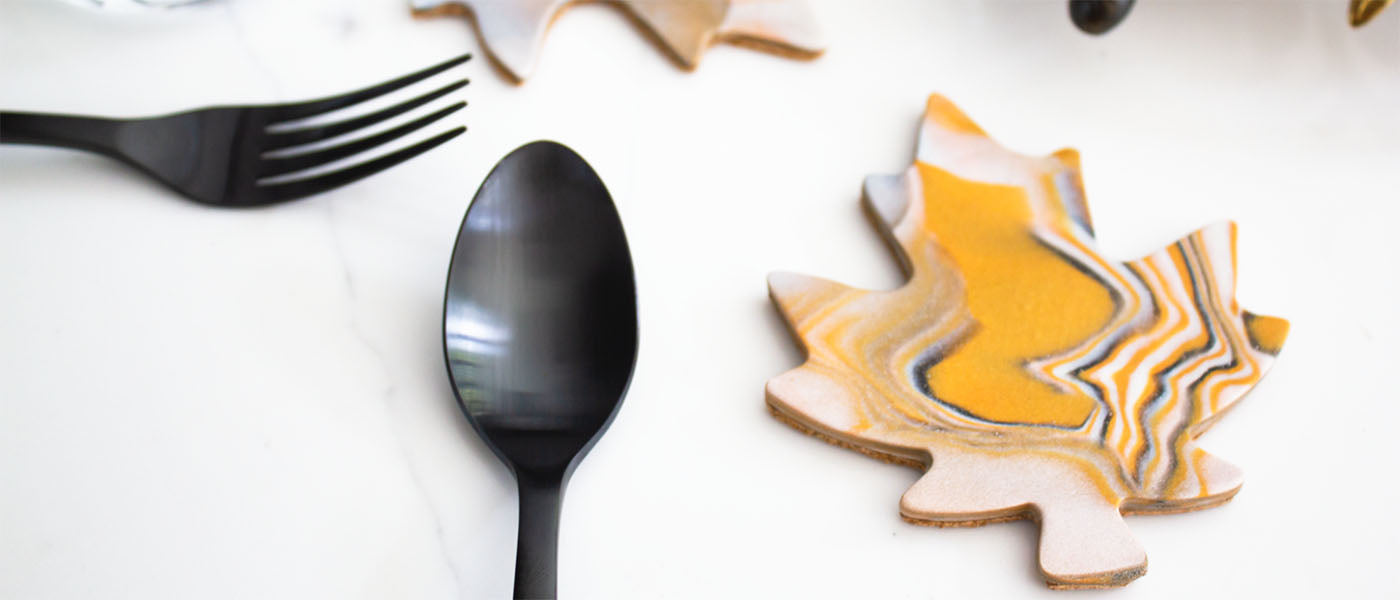
Maple Leaf Clay Coaster
Give your holiday table a personal touch with these maple leaf clay coasters. You’ll need just a few supplies:
- Baking clay in a choice of colors
- Maple leaf cookie cutter, should be about 4 inches wide to accommodate most glasses
- Cutting mat
- K18 craft knife
- Sanding stick with a fine grit belt
- Adhesive cork or adhesive felt sheets
- Roller pin or a glass bottle to use as a rolling pin
- Pencil
- Embossing stylus tool for decorating the surface (optional)
- Acrylic glaze
First, you’ll need to set up your working surface. A cutting mat is a great way to do so. Make sure your mat is clean and free of dust or fuzz.
Check Out Our Selection of Cutting MatsWork your clay so that it is soft. Knead it until it is pliable. The more you knead the clay, the softer and easier it will become to work with.
Combine your colors into the desired design, keeping in mind that it will need to be flat and more than 4 inches in diameter. Alternatively, you can use one color and embellish the surface with the embossing stylus tool in a later step.
Once you’re happy with the motif, roll your clay into a flat, even slab. Next, take the maple leaf cookie cutter and cut out the shape from the slab. Repeat until you have the desired number of coasters.

Decorate the surface with the embossing stylus tool or K18. Make sure that the designs are not raised. The surface of the coaster should be flat and not bumpy.
Follow the baking instructions for your clay on the packaging.
Once the clay coasters are baked, hardened and cooled, sand each one around the edges so they’re smooth and any bumps are removed. Then, apply a coat of acrylic glaze. Be sure to follow the instructions on the packaging.
Then, trace the coaster shapes on the adhesive cork or the adhesive felt. Using your K18 craft knife, carefully cut out each shape. Peel the adhesive backing off and secure to the bottom part of the coaster. Trim away any visible areas so that the cork or felt is flush with the coaster’s edge.
Fall Garland

A fall garland is a quick and easy way to add a festive feel to your Thanksgiving table, dining room, living room or entryway.
What you’ll need:
- Paper in a choice of colors
- K18 craft knife
- Baker’s twine or ribbon
- Glue
- Cutting mat
Measure out the length of the garland for your area and add 2 inches on each side for ease. Decide how far apart to space each motif and note how many you’ll need. Double that amount as you’ll need a back and front for each one to sandwich around the baker’s twine or ribbon.
Draw your designs and motifs on the back side of the paper. Keep the motifs at about 2 to 2.5 inches. Then, using your K18 craft knife, carefully cut the designs out.
Next, glue or tape the designs together centering the twine or ribbon between the two pieces. Repeat until the garland is complete.
That’s it! So easy.
Paper Pumpkins

This is a fun project to do as a family in one afternoon. The pumpkins can be small and cute or as big as the paper will allow. When planning this project, consider where you will display your creations, what size they should be and what colors to make them.
What you’ll need for this project:
- Square craft paper
- Circle cutter
- Ruler
- Cutting mat
- Craft scissors
- Glue
- Embossing stylus tool for scoring the paper
On your cutting mat, place the paper of choice and then set up your circle cutter combo. Option A is to use the “pin post” and “pencil tip” combo to draw the circles on your paper and cut these out with scissors or safety scissors. Option B is to use the “pin post and swivel blade” combo to cut the paper directly.
You’ll need at least 10 circles for each pumpkin. For a fuller look, increase the number of circles. Try mixing and alternating the colors for added interest or stay monochromatic for a chic arrangement.
Once all the circles are cut out using the ruler and embossing stylus tool, score each circle down the middle. Then, fold in half.
Sort the circles as needed for each pumpkin. Apply glue to the half of the backside of one circle and then glue to the half of the next one. Repeat until all circles are glued together.
Next, draw pumpkin leaves and stems on the back side of the paper. Then, using craft scissors, cut out and glue to the pumpkin.
Stock up on Craft Scissors
We hope you’ll enjoy making these DIY Thanksgiving decorations with your family or friends during this holiday season. Don’t forget to share your creations with us by tagging your photo with @excelblades and #excelblades on Instagram or Facebook.