Clay Sculpting for Beginners — Tips for Getting Started
You do not have to be an artist to try sculpting, or any form of art for that matter. Creative arts are wonderful as a hobby — something to do to relax, collect your thoughts and simply enjoy.
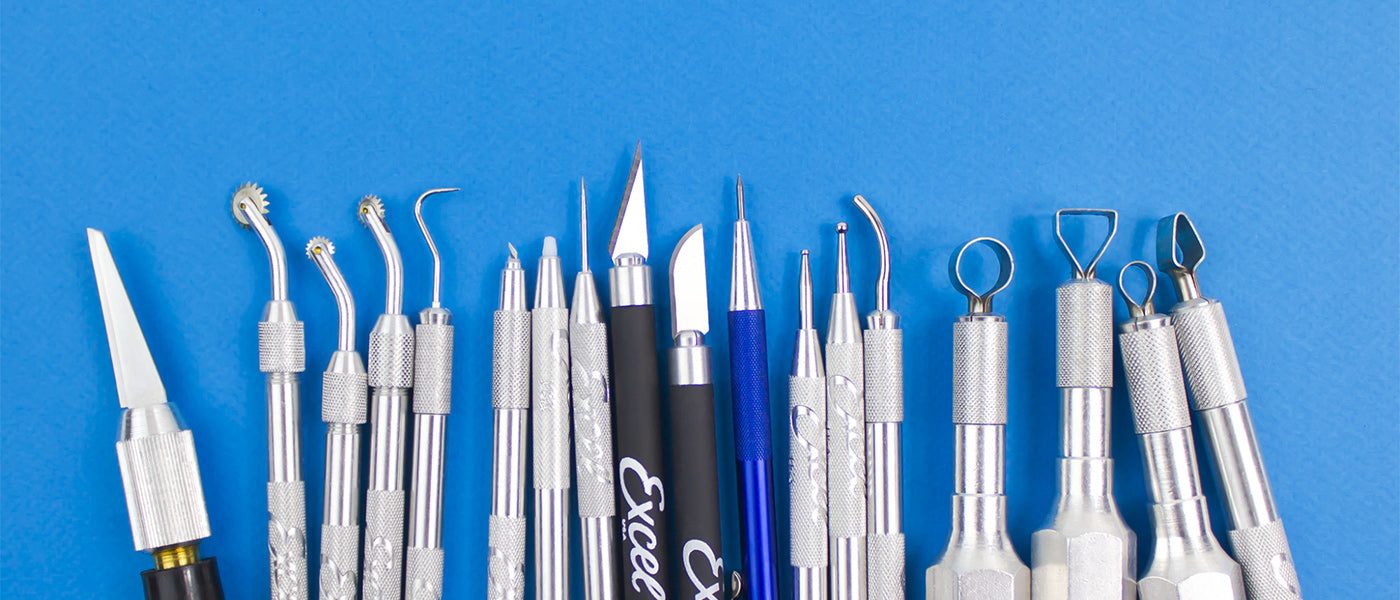
Clay sculpting is tactile. Molding and manipulating clay into forms is often done by hands, in addition to using polymer clay tools like metal brushes, carving routers and styluses. Sometimes, artists and sculptors make their own tools or use found objects to create unique textures.
Check Out Excel’s Entire Selection of Polymer Clay Tools
We’ll go over some of the common tools first.
Carving routers — Carving routers are available in several shapes or sizes and these tools allow for carving into the clay and removing it to get the desired effect. Larger sizes help to remove excess clay and the smaller ones help to sculpt in details like grooves or reliefs. Made from carbon steel, they will last a long time.
Wire brushes — These are a good tool for blending and smoothing out “lumpy” areas where more clay was added.
Scriber or pick tools — Sharp and pointy, these tools are great for precise and detailed work and are available in sizes from .030” to .090”. Scribe tools are used to make points, add texture, remove small debris and remove air pockets.
Burnishers — These are used to sculpt finer details by smoothing and manipulating small areas of clay and making smoother indentations and adding textures. Common burnishers include ball tip burnishers, which are great for dotting and help to create perfectly round dots and smooth lines.
Knives — Knives are used to cut clay into smaller pieces, cut away excess while working on a rough form, scoring and sometimes even for adding texture to the surface of the clay. Many blades are available to use with craft knives that can be handy in your project.
Selecting your clay:
Your local art supply store probably has more than one type of sculpting clay — some of which you may already be familiar with.

Polymer Clay — Made with a synthetic plastic polyvinyl chloride base, this clay comes in a large variety of colors and textures. It’s soft, pliable and easy to work with. Final pieces require baking to harden and become permanent. You can read more about it in our earlier blog post about how to use polymer clay.
Self-Hardening Clay or Air Dry Clay — This is a moist clay that remains soft and pliable when moistened with water or covered with a damp cloth. Once the clay is air dried, it becomes solid and no firing or baking is needed. This type of clay can be painted once dry.
Pottery Clay or Stoneware Clay — This is used for ceramic work. Extremely malleable due to its plasticity, this clay requires firing at high temperatures to become solid and is suitable for vases, planters and other decorative pottery.
The above are common clays to choose from and available at local art supply stores.
Thinking about the type of project you would like to try? Polymer clay is great for small decorative items like earrings, trinket trays and charms. Polymer clay earrings are very popular to make and to buy from small businesses and are basically a cottage industry in their own right. Whatever your personal style, odds are in your favor of finding polymer clay earrings to match.

To add elements to your clay designs, like jewels or rhinestones, use precision tweezers which will allow for more control of placement.
See All the Different Stainless Steel Tweezers We Offer
If you want to create l’objet d’art for your home, then the air drying clay is the one to try. You can work on a larger scale and over several days as long as you keep the clay moist and covered. Be sure to follow directions on the clay packaging.
For tall sculptures, you’ll need to build an armature. This is a support structure usually made from wire and aluminum foil to which the clay is added on. Other material armatures can be made from wood, wax or steel.
For dishes, mugs and items like trays, use pottery clay. Pottery clays are also widely available. Check with your local art supply store for the one that’s best to use in your project and follow the directions on packaging for use.
Most importantly, remember to have fun and to take your time. Try new things, see what works and what does not, repeat and expand on what does to uncover your style and inner sculptor.
YOU MAY ALSO WATCH