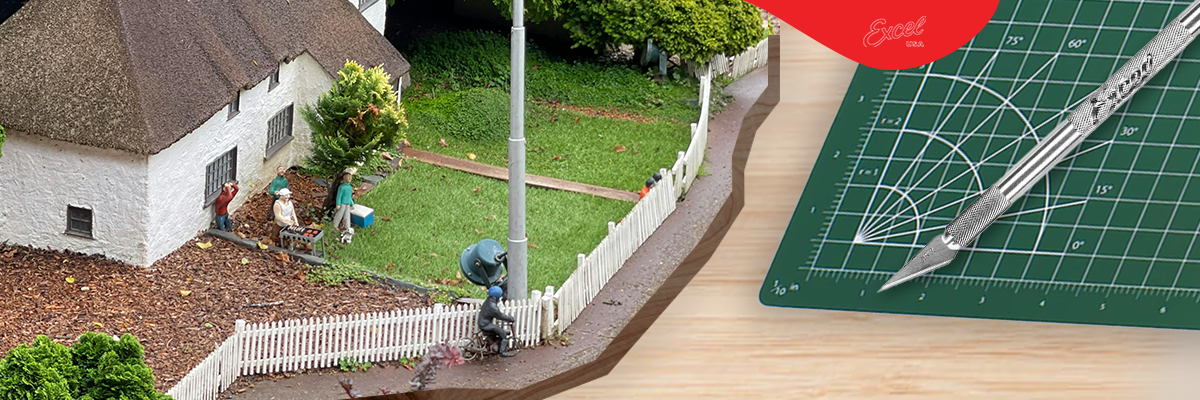
How to Make a Diorama Base: Tools, Tips & Materials
Creating a diorama base is one of the most exciting—and critical—steps in bringing your miniature scene to life. Whether you're building a battlefield, a fantasy realm, a model railroad landscape, or a scale replica, the diorama base sets the stage for your entire display.
In this comprehensive guide, we’ll walk you through everything you need to know: from planning your concept, choosing the right materials, using the best tools, and assembling your diorama base with precision.
Why the Diorama Base Matters
A solid and well-designed base ensures:
- Stability for figures, terrain, and props
- Realistic environmental context
- Easier transportation and long-term durability
- Higher visual impact
Whether you're building a military diorama, a fantasy world, or a realistic landscape, your base anchors the entire scene.
Explore Precision Cutting and Shaping Tools

Step 1: Planning Your Diorama Base
Define Your Scene
Before you gather tools or materials, sketch out your concept:
- Theme: Military, nature, urban, sci-fi, historical, etc.
- Scale: 1:35, 1:72, HO scale, etc.
- Main Elements: Vehicles, figures, terrain types
- Layout: Raised levels, water features, pathways, ruins
Size and Shape
Keep your base proportional to your figures or kits. Small scenes (6x6") work well for single figures, while larger bases accommodate multi-element vignettes.
Step 2: Essential Tools for Diorama Base Building
1. Precision Craft Knife
Use a hobby knife like the K1 Craft Knife or K5 Hobby Knife for:
- Cutting foam board or XPS foam
- Trimming sculpted features
- Scoring terrain cracks or tiles
2. Ruler & T-Square
For clean, straight lines and measuring placement. Use metal rulers with cork backing to prevent slippage.
3. Pin Vise & Micro Drills
For drilling holes into the base to anchor figures, rods, or supports.
4. Sanding Blocks or Needle Files
Smooth foam, wood edges, and terrain contours.
5. Hot Wire Cutter or Foam Cutter
If you're using insulation foam or XPS boards, a foam cutter ensures precision.

Step 3: Choosing Your Base Material
Common Diorama Base Materials:
- Foam Board: Easy to cut and shape. Lightweight.
- XPS Foam: Ideal for carving terrain; firm but sculptable.
- MDF Board or Plywood: Excellent for heavy or permanent bases.
- Cork Sheets: Great for urban scenes and elevation changes.
- Layered Cardboard: Budget-friendly for small-scale displays.
Pro Tip: Seal foam bases with Mod Podge or diluted PVA glue before painting.
Step 4: Assembling the Diorama Base
1. Cut and Shape Your Base
- Use a hobby knife and cutting mat
- Mark guidelines with a pencil or scoring tool
2. Layering for Depth
- Glue foam or cork layers to create hills, cliffs, roads
- Sand or carve down the edges for natural transitions
3. Anchor Key Elements
- Drill holes or embed pins for model figures, trees, and vehicles
- Use superglue or hot glue depending on material
4. Texture the Terrain
- Use sculpting tools to carve cracks or bricks
- Apply spackle, joint compound, or lightweight modeling clay
Step 5: Painting and Ground Cover
Base Painting Techniques:
- Prime the base with acrylic gesso or black/brown primer
- Layered Drybrushing for highlights
- Use washes to bring out depth in cracks and crevices
Common Ground Cover Materials:
- Sand, dirt, and gravel (real or hobby)
- Static grass or turf flocking
- Sculpted clay or foam rocks
- Woodland Scenics products
Pro Tip: Mix materials for realism (e.g., sand + turf + twigs)
Step 6: Final Detailing
Add Elements:
- Trees and bushes (wire armatures + flock)
- Crumbled bricks or rubble (cut foam or plaster)
- Water effects (clear resin or gloss varnish)
Fix & Seal:
- Mist sealant spray to protect paint layers
- Optional: UV coating for long-term displays
Anchor Text: Top Excel Blades for model making and hobby work
Common Mistakes to Avoid
Mistake 1: Not sealing foam before painting
Fix: Always use a sealant to avoid paint absorption.
Mistake 2: Using dull blades
Fix: Use sharp #11 Blades or #16 Stencil Blades for clean, accurate cuts.
Mistake 3: Flat terrain with no elevation
Fix: Add layers and depth to make the base more dynamic.
Mistake 4: Rushing paint drying
Fix: Allow each layer to fully dry to avoid muddy textures.
Diorama Base Ideas by Theme
Military Diorama Base:
- Sandbags, trenches, crates
- Tracks and footprints in mud
Sci-Fi Diorama Base:
- Metallic panels, grates, space dust
- LED lighting and clear plastic overlays
Nature Diorama Base:
- Rocks, trees, water streams
- Animals or birds on wire stands
Fantasy Diorama Base:
- Ruins, runes, stone altars
- Glowing crystals and mossy texture
Final Thoughts: Bring Your Diorama to Life
Building a diorama base is as much an art as it is a craft. With the right tools, materials, and attention to detail, you can create a miniature world that captivates and impresses.
Whether you’re a seasoned modeler or a hobbyist just getting started, Excel Blades has the tools to help you cut, carve, and craft your masterpiece.