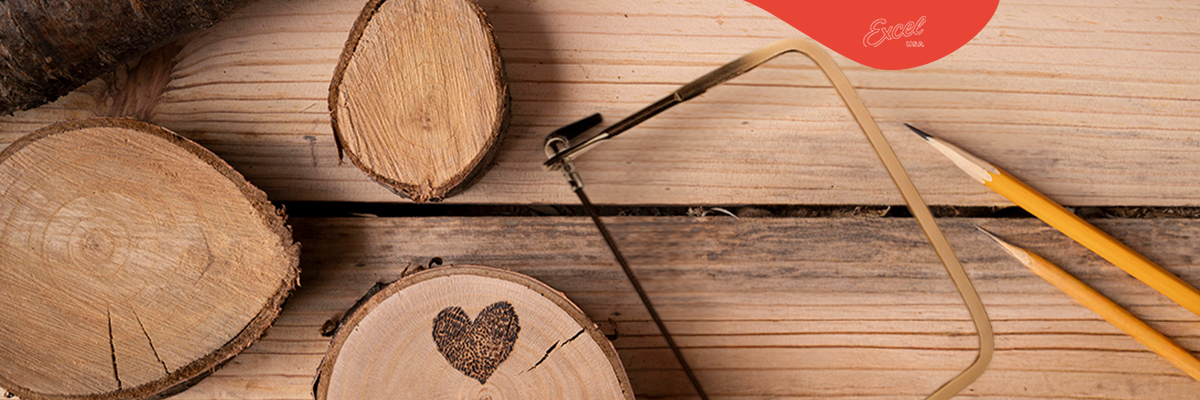
How to Make Wood Coasters: A Step-by-Step DIY Guide
How to Make Wood Coasters: A Step-by-Step DIY Guide
Wood coasters are a perfect beginner woodworking project: useful, beautiful, and customizable. Whether you're using wood slices from branches or constructing coasters from scrap hardwood, the process is straightforward and rewarding. This guide will walk you through every step—from material selection to finishing touches—so you can create functional and lovely coasters you’ll be proud to gift or keep.
What You’ll Learn
In this guide, you’ll discover:
- How to select and dry wood properly
- Tools and materials needed for simple or advanced coaster builds
- Cutting, sanding, and sealing techniques
- Creative decoration ideas like staining or woodburning
- Protection methods so coasters withstand condensation and spills
- Expert tips for avoiding cracks, warping, and uneven edges
Choosing Your Wood
Natural Branch Coasters
Using wood slices cut from straight branches (minimum diameter ~3.5″) produces a rustic look. Proper drying is crucial: aim for moisture content below 10% (ideally 6–8%) to prevent cracking
Scrap Wood Coasters
Alternatively, you can glue up scrap hardwood (like maple, walnut, or oak) to form coaster blanks. You can create color patterns by alternating stained strips
Tools & Materials You’ll Need
For wood slice coasters:
- Hand saw or chop saw
- Sandpaper or sanding sticks (coarse to fine grit)
- Clear varnish or oil finish
For scrap wood coaster sets:
- Miter saw or table saw
- Wood glue and clamps
- Dowels and drill (optional holder)
- Finishing oil or polyurethane
Step 1: Cutting the Coasters
Branch slices:
Cut slices about ½" thick. For consistency, use a stop block to cut evenly.
Glued-up blocks:
Create a blank, plane or sand to thickness (~3/8″–5/8″), then crosscut to square sizes (e.g. 3¾″ or 4½″)
Step 2: Sanding & Surface Prep
Start with heavy grit (80–120), progress to fine grit (220).
For slices, do not sand bark edges to maintain rustic charm.
Remove pencil marks, rough edges, and smooth all sides, including edges.
Step 3: Optional Design Enhancements
- Wood-burning (pyrography): Add custom patterns or monograms before sealing
- Staining or painting sections before assembly creates color-contrast designs .
Step 4: Sealing & Finishing
Protect your coasters with:
- Clear varnish or Varathane satin finish
- Danish oil + polyurethane, ideal for durability and slight porosity
Apply to both sides and edges. Use multiple coats for moisture resistance. Add adhesive cork feet if desired to prevent slipping
Optional: Building a Coaster Holder
Build a wooden base using dowels for stacking:
- Drill matching holes into a 1×6 base
- Insert and glue dowels, then stack coasters around them
- Trim dowels flush and apply the same finish.

Why Moisture Levels Matter & How to Dry Wood
Wood needs to dry slowly to avoid cracking. Branch slices should dry over weeks or months in a cool, dry space. Use a moisture meter, or test cuts to check dryness.
Even then, some pieces may crack and need replacing.
Design Ideas & Creative Variations
- Hexagon shape using scrap wood and geometric layouts
- Chevron or two-tone oak coasters by alternating stained strips
- Natural bark edge circles for rustic charm
- Decoupage with maps or ephemera, sealed under varnish
FAQ: Making Wood Coasters
How thick should wooden coasters be?
Aim for 3/8″ to 5/8″ thick. Thinner may warp; thicker adds bulk but is more durable
Do you need to dry wood before making coasters?
Yes. Dry slices thoroughly to ~6–8% moisture to avoid cracking. Green wood will split and warp as it dries over time
What finish is best for wood coasters?
Use finishing coats like clear satin varnish, Danish oil, or wipe-on oil plus wax/polyurethane. These protect while preserving wood grain
Should I stain before or after assembly?
Stain individual strips or pieces before gluing, especially for color contrast designs. Alternatively, stain full assembled blanks for uniform grain finish
Can I use scrap wood for coasters?
Absolutely! Many creators use scraps like 1×2s, gluing them to form square or patterned coasters. It’s efficient and visually interesting
How to prevent condensation damage on coasters?
Seal all surfaces and edges; add adhesive cork backing; consider porous finishes to let moisture absorb slightly, as completely sealed surfaces may cause condensation runoff
How to make a coaster stand?
Cut a base board (e.g. 1×6), drill dowel holes in corners to align coaster stack, and glue dowels in. Trim flush and finish base to match coasters
Crafted Coasters That Impress
Making wood coasters is a practical and creative DIY project that suits any skill level. Whether you're honoring a fallen tree with rustic wood slices or transforming scrap hardwood into stylish sets, the process is satisfying—and the result is long-lasting.
With attention to wood drying, even cutting, careful sanding, and durable finishing, your coasters will hold up for years and make great gifts. Add personal touches like burning names or patterns, staining vibrant contrasts, or building a sleek holder—and you’ve got a handmade piece that’s both useful and beautiful.
Watch Tutorial Now: Pyrography for Beginners