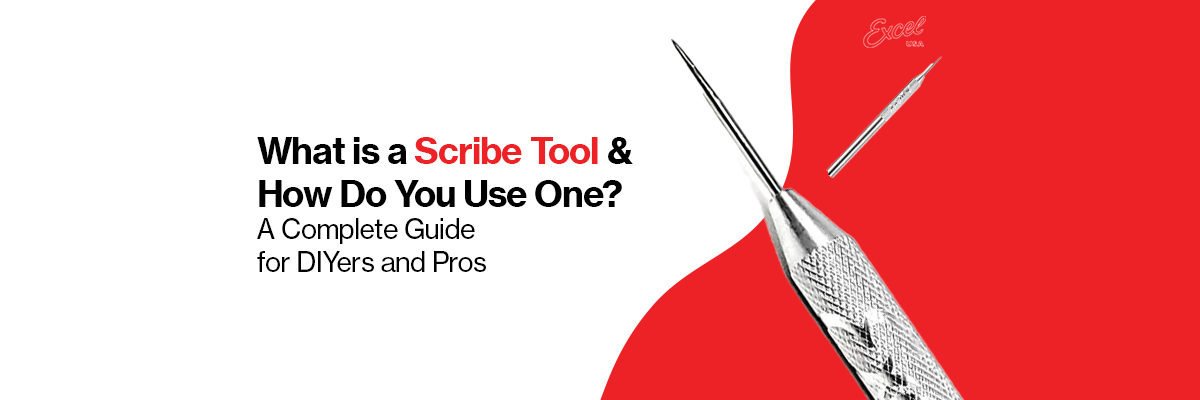
What is a Scribe Tool & How Do You Use One? A Complete Guide for DIYers, Cabinetmakers, and Metalworkers
If you've ever struggled with fitting a cabinet perfectly against a wall or marking precise lines on metal, a scribe tool is the unsung hero you’ve been missing. Whether you’re a professional cabinetmaker, metal fabricator, or a passionate DIYer, learning how to use a scribe tool can significantly improve your accuracy and results.
In this guide, you'll discover:
- What a scribe tool is
- The different types of scribes
- How to use a scribe tool properly
- Sharpening and maintenance tips
- Safety guidelines
- And how to choose the best scribe for your next project
What is a Scribe Tool?
A scribe tool, or scriber, is a handheld marking tool used to scratch fine lines into hard surfaces like wood, metal, plastic, or laminate. Unlike pencils or markers, scribes create permanent marks that won’t fade, smudge, or disappear — making them ideal for layout tasks in construction, fabrication, and crafting.
Types of Scribe Tools
There are several types of scribers, each designed for specific tasks. Below are the most commonly used:
1. Wood Scribe Tool
Used by carpenters and cabinetmakers, this tool is ideal for marking wood surfaces, especially for trim, joinery, or baseboard fitting.
Equipped with a hardened steel or tungsten carbide tip, metal scribes are used to mark metal sheets, pipes, and bars for cutting, welding, or bending.
These come with two different tips—often a straight point and a hooked point—providing flexibility for different marking angles.
4. Compass Scribe / Circle Scribe
Perfect for marking curves and circles, often used in cabinetry, signage, or even stone masonry.
5. Adjustable Scribing Gauge
Features an arm or beam that allows you to scribe consistent offsets from a reference edge — critical for flush fitting cabinets and flooring.
What is a Scribe Tool Used For?
Scribe tools are used across multiple disciplines for precise layout marking. Common applications include:
- Cabinetmaking: Scribing trim or cabinetry to irregular walls
- Metalworking: Marking layout lines before cutting or welding
- Flooring: Ensuring tiles or floorboards align perfectly
- DIY Projects: Aligning wall panels, backsplashes, or baseboards
Instead of estimating or eyeballing fits, you’re creating exact reference lines that lead to seamless installations.

How to Use a Scribe Tool (Step-by-Step)
Using a scribe is simple but requires control and care. Here’s a basic step-by-step guide:
1. Choose the Right Tool
Use a metal scribe for hard surfaces like aluminum or steel and a wood scribe for carpentry and cabinetry.
2. Clean the Surface
Ensure the material you’re marking is clean and dry to avoid slipping.
3. Hold the Scribe Like a Pen
Use your thumb and index finger for precision, and angle the tool slightly forward.
4. Use a Ruler or Straightedge
Align a metal ruler or guide against the surface, then drag the scribe gently across to make your mark.
5. Apply Consistent Pressure
Too much pressure can damage soft materials, while too little may not leave a visible line.
How to Sharpen a Scribe Tool
A sharp scribe tip is essential for clean, precise lines. To sharpen your scribe:
- Use a diamond file or sharpening stone
- Hold the tool at a 20–30° angle
- Rotate the tip as you file to maintain a conical point
- Test on scrap material to check sharpness
If your tool has a replaceable tip, simply unscrew and install a new one.
Safety Tips for Using a Scribe Tool
- Always point the tip away from your body and hands
- Use protective gloves when working with metal or glass
- Store the scribe in a protective sleeve or case
- Don’t press too hard — let the tool do the work
- Keep tools out of reach of children
What to Look for When Buying a Scribe Tool
When shopping for a scribe, consider these key features:
- Tip Material: Tungsten carbide or hardened steel lasts longer
- Grip Comfort: Knurled or rubberized handles improve control
- Length & Balance: Longer tools offer better reach
- Replaceable Tips: Extend the life of the tool and reduce waste
Check out this high-precision scribe tool by Excel Blades
You May Also Watch: Air Release Scribe Tool for Car Wrapping
Real-World Use Cases
Cabinet Fitment. When installing baseboards or crown molding, use a scribe to trace the irregular wall profile onto the material. Cut along the scribe line for a perfect, gap-free fit.
Metal Fabrication. Layout lines for cutting or bending metal require accuracy. A scribe tool ensures those marks stay put, even under heavy handling.
DIY Tile Installation. Scribe tiles for custom shapes around plumbing or edges, reducing chipping and wasted material.
Common Mistakes to Avoid
1. Using a pencil on oily or dusty surfaces — it’ll disappear
2. Dragging the tip too hard and damaging the material
3. Forgetting to use a straightedge, resulting in wavy lines
4. Letting the tip go dull — this causes skipped or inconsistent marks
Final Thoughts
Whether you're a seasoned cabinet installer, a metalworking professional, or a passionate DIY enthusiast, the scribe tool deserves a permanent spot in your toolbox. Its unmatched precision and versatility can save time, improve fits, and take your craftsmanship to a professional level.
Get clean, precise marks every time. Master the art of scribing — and start making perfect fits today.
Helpful Resources