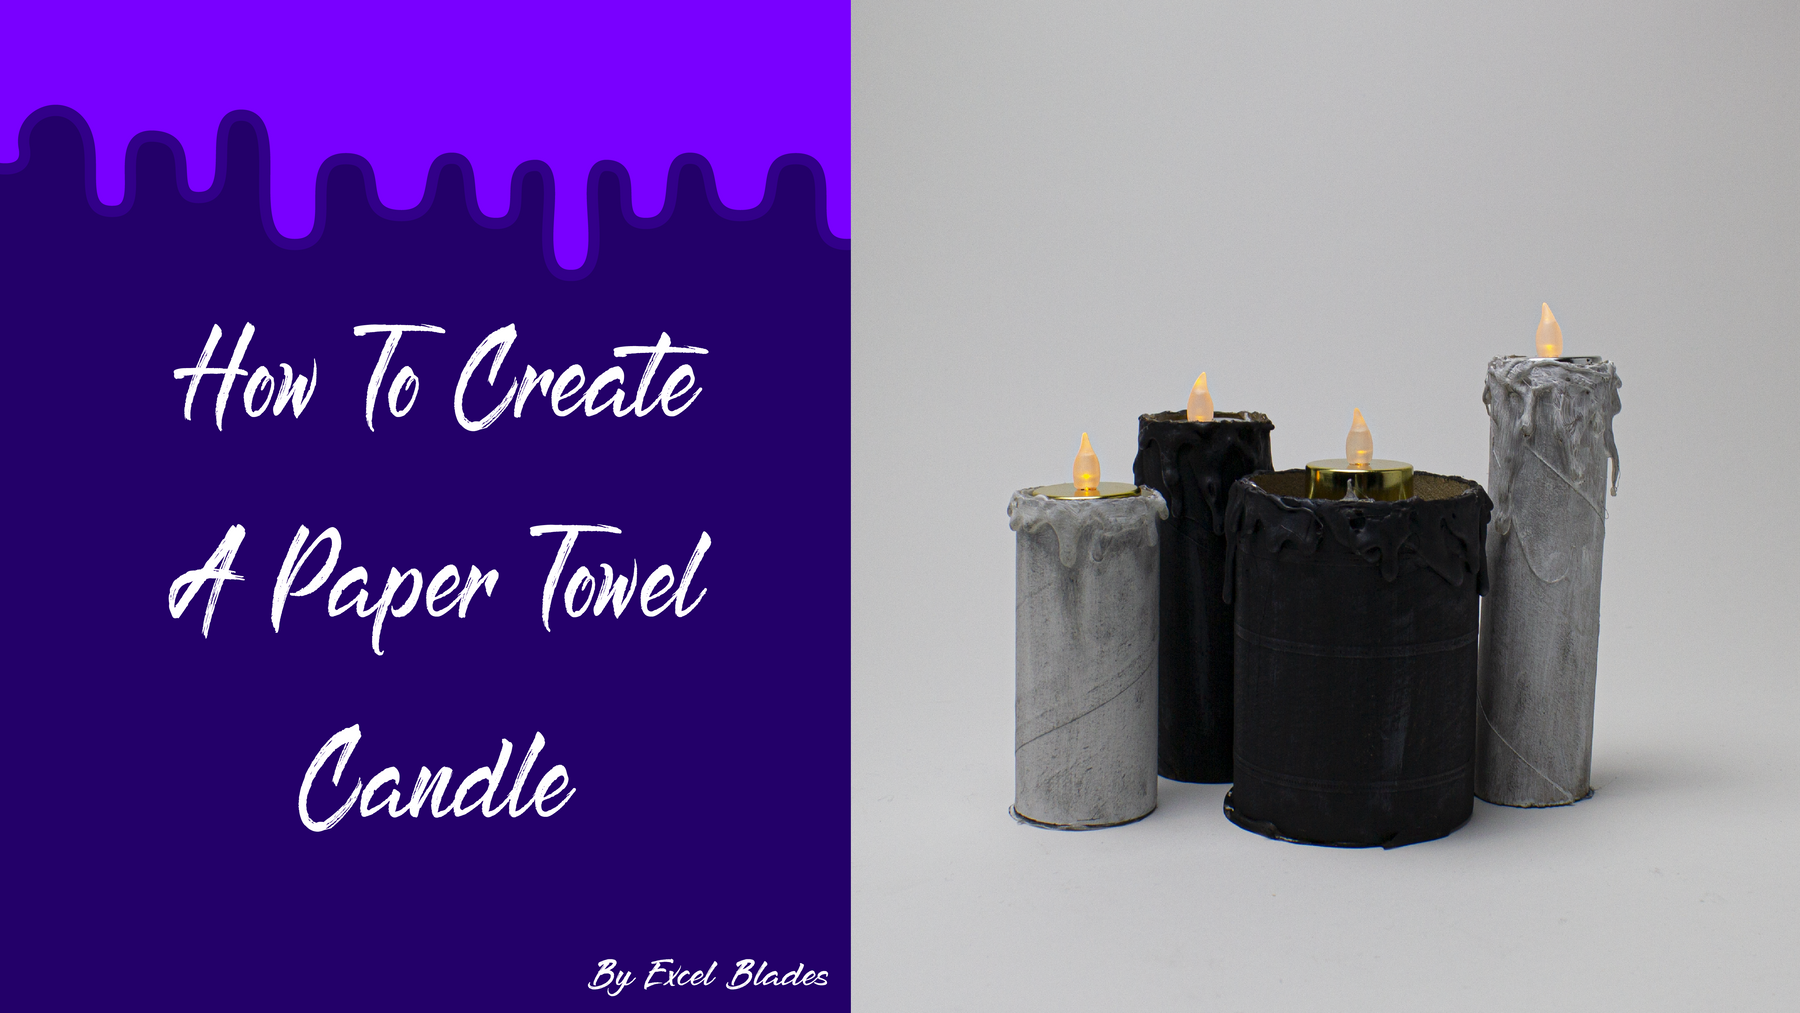
A Guide to DIY Halloween Candles

Step 1: Grab your cutting mat, paper towel roll and mitre box set. Insert your saw blade (item #30490) into your K5 handle (item #16005). Put your mitre box on the edge of the table and place your paper towel roll inside the mitre box. Then, saw your paper towel tube in half.

Step 2: Next, grab your wax paper, K18, marker and paper towel tube you just cut. Place the end of the paper towel tube onto the wax paper and trace the tube with your marker. With your K18, cut out the circle you just traced on the wax paper. Do this for all of the candles you will be making.
Step 3: Grab your glue gun and place glue in the center and edges of the wax paper. It is important to put glue in the center of the paper to add weight so the candle doesn’t tip over. Take your paper towel roll and place it onto the circle.
Step 4: Now, let’s make “wax drippings”. Using your glue gun, squeeze glue along the edge of the paper towel roll. Once you are done creating your drippings, let the hot glue dry.

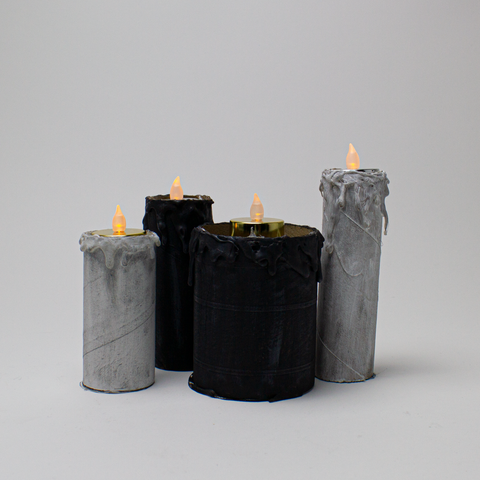
Step 5: Now it’s time to paint! Grab your paint brush and start painting your candle. We chose to paint the candle white. Make sure you paint your entire candle, including the hot wax. Once you are done painting, let the candle dry.
Step 6: Now, let’s give these candles a spooky look. Grab some grey paint, a paper towel and a dry paintbrush. Brush off the excess grey paint onto the paper towel. Now, dry brush the grey paint onto the candle. This will help give the candle a weathered look.
TIP: if you make an area too dark, grab a clean dry brush and white paint (or whatever color you are painting your candle). Dry brush the section you want to make lighter.
Step 7: Now, grab your battery-operated candle and place it inside the paper towel tube.
TIP: If the tea light is too small to fit inside the tube, grab your glue gun and put little dabs of glue inside. This will reduce the radius of the tube and allow the candle to fit in securely. Set aside to let the hot glue dry before putting the tea light inside the candle.
Step 8: If you have a larger tube that you used to create a candle. Grab 4 paper clips and link them together. Glue one side of the paper clip onto the inside edge of the tube. This will help create a “net” for the battery-operated candle to sit on.
Step 9: Once the glue is dry, place your candle inside. Now you are done!

Not only is this a great DIY for Halloween but, you can create these candles for any holiday! All you have to do is change the color of the candle.
We hope you enjoyed creating this awesome Halloween candle as much as we did! Don't forget to show us how you DIY by tagging us on Instagram at excelblades and excelblades.co. Subscribe to our YouTube channel for more DIY projects and tips on our tools.