How to Make Cosplay Armor with EVA Foam
Creating cosplay armor can seem impossible if you don't know where and how to start — and if you do not have the right tools. We put together this step-by-step guide to shine a light on some of the mystery of making simple cosplay armor using foam.
For this beginner level foamsmithing project, you will need the following supplies:
- EVA foam sheets – enough to create all the pieces of your armor
- Craft knife – make sure you start with a fresh new blade so that your foam cuts are smooth
- White glue or Mod podge
- Ruler
- Awl
- Pounce wheel
- Cutting mat – always protect your table surface from tool and knife damage
- Scissors
- Embossing tools
- Poster board
- Sandpaper or sanding sticks
- Acrylic paint and brush
- Sponge (optional)
- Embellishments (optional)
Pick your favorite character in armor and gather images of them suited up and facing forward. One trick is to print the page and outline or highlight using different colors for each element of the armor. You’ll find that whether overly elaborate or simple, every armor is made up of individual shapes layered, stacked or overlapping.
Get more Cosplay Tips for Beginners Here
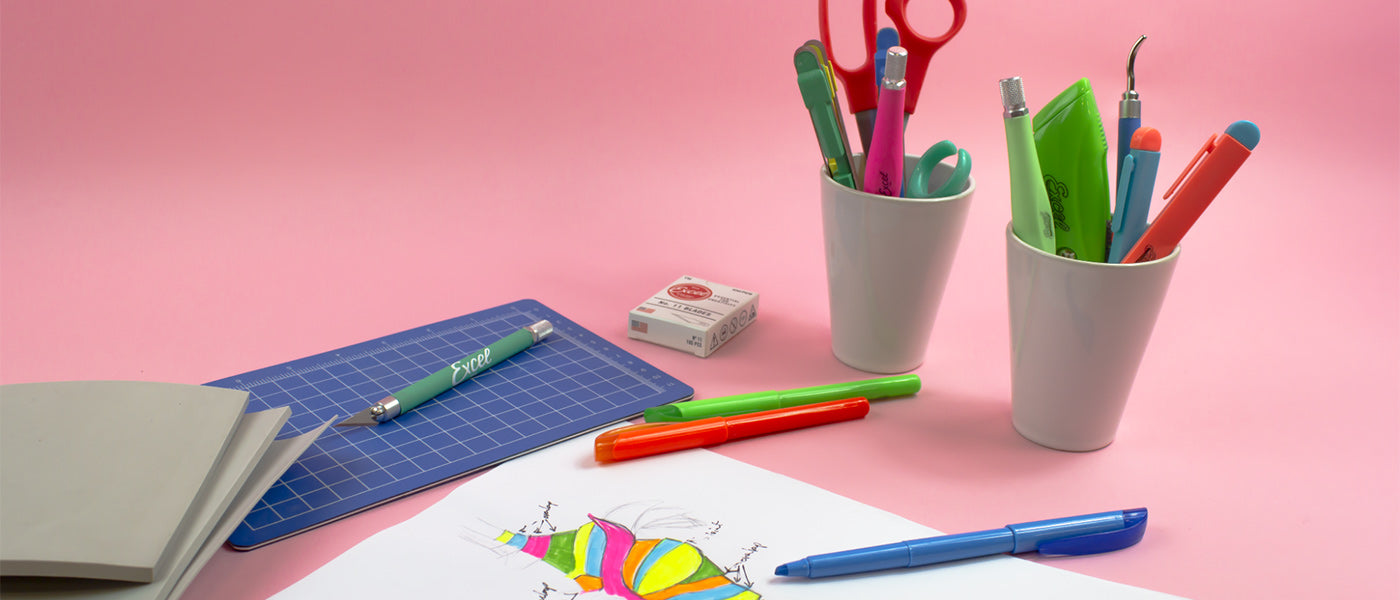
We did a quick pencil sketch of our armor and used multicolored highlighters to outline each shape. Then, we called out which parts are overlapping and which are jointed.

After you identify all the shapes you need for the armor, you’ll need to create a mockup version out of poster board. Using a ruler, draw a line down the center of the poster board. Then, wrap it around your torso so that the line you just drew is in the middle. Use tape to secure it in place. You might need a friend to help you with this part.
Using a pencil, mark front-center, sides and armholes, as well as the general edges and length of your armor. Don’t forget the neckline! Once finished marking, remove the poster board, lay it flat on your workspace and draw in all the armor shapes to scale. Clearly mark which shapes overlap and in which direction.
With a sharp craft knife, trim away all excess. Try the mockup in front of a mirror and see if you’re happy with the way it looks. This is where you should make all adjustments and corrections.
Next, using an awl or a pounce wheel, trace each armor shape onto its own piece of pattern paper. Don’t forget to include the overlaps! These are the pattern pieces you will be using as guides to cut your final foam, so take your time and double-check everything.
Tool Tip: To transfer a shape to a new piece of poster board or pattern paper using an awl, lay the two papers onto the top of one another and tape securely to the workspace so that neither paper shifts. Press the awl along the pencil outline about every 1/4” on the straight and about once every ⅛” on curved lines. Make sure you’re working on a cutting mat so as to not damage your table surface.
Label each pattern piece on the front. This will be especially helpful if the armor has many parts.
Once all the pattern pieces are cut, roll out the EVA foam on your cutting mat and secure it in place. Lay out all the pattern pieces so that you're maximizing on the foam. Then, tracing and using your hobby knife, carefully cut out each piece.

Assemble the pieces without glue first. Gently mark the lines of overlap and, once all looks in order, start gluing together. Use a glue that works best with the type of foam you chose. To stabilize the assembled armor, line the interior side of it with a muslin cloth using a coating of liquid glue. This will help to stabilize the armor and help to keep its three-dimensional shape. Trim off excess with curved lexan scissors for a close and accurate cut.
Let the armor dry and glue set completely before moving onto the decorative designs.
For intricate designs like swirl-work, heraldry, battle damage and so on, using tools like Excel Blades’ embossing set is ideal. The interchangeable burnisher tips easily imprint in the soft surface of the foam and the different shape tips allow different effects.
Explore All of the Many Cosplay Tools We Offer
So, now that your armor is built and embellished, you’ll need to seal the foam before you paint it. This is easily done with a mixture of white glue and water. Mix one part glue and one part water. If it’s too runny, add more glue to the mixture. Apply with a paint brush, let dry and repeat until you’re happy with the level of smoothness. You may need up to eight coats to get a super smooth surface.
Use an awl to release any air bubbles while the mixture is still wet. Once dry, use sandpaper or sanding sticks to remove any imperfections.
Use acrylic paint to add color to your armor. For a smooth all-over color, use a paintbrush. For distressed effects, use sponges and crumpled paper to apply the paint. Mix in crafting sand or glitter to give your paint an all-over texture or additional element.
Have fun with this! Try new small details and practice. Before you know it, you too can be an expert foamsmith.
You May Also Watch: Make your own Cosplay Wings - Excel Blades® DIY Tutorial