Skip to content
Due to the Canada Post strike, USPS is not accepting any packages bound for Canada – all CA orders will be sent via UPS
Due to the Canada Post strike, all CA orders will be sent via UPS

Country

Please select the option that best suits you
Hobbyist
OEM / Custom Solutions
Wholesale
How To Make A Flower Hair Comb - Excel Blades

How To Make A Flower Hair Comb - Excel Blades

 
Have you ever wanted to create a unique hair comb and just weren’t sure how to do it?  Maybe you want to create a brand-new hair piece for an upcoming photoshoot and just don’t know where to start.  Well, look no further!  Here at Excel Blades, we wanted to show you how to create your very own floral hair comb with leather and felt! This DIY is simple and something you can do with materials you already have around your house.
 
Not only are these hair combs super trendy, but they are also extremely popular in the wedding industry and look great with a beautiful dress for any occasion.  We wanted to give our favorite hair accessory an update with a twist on the classic floral hair comb.  This is an easy way to take your favorite fabric and make a beautiful, personalized hair piece.  Not only can you do this DIY on your own, but this is a great mommy and me project too! 
 
So, go grab your favorite fabric and a mimosa, or just an orange juice for the little one, and let’s get crafting! 
 
Materials
Leather Fabric – we used metallic silver and green
Felt Fabric – we used white glitter
Hair Comb – we used silver combs
Hot Glue
 

Step 1: Grab your Alumicutter Ruler, K26 Fit Grip Knife and fabric.  Line up your fabric on the edge of the cutting mat.  Using the ruler on the cutting mat, measure the edge of the fabric to 14” 

Step 2: Next, place your alumicutter ruler on the edge of the fabric vertically.  Measure 4.5” tall and cut the edge to mark the spot.  Then, place your alumicutter ruler along fabric parallel to the longer edge.  Cut along the ruler with your K26.  You should now have a piece of fabric that is 14” x 4.5”.


Step 3: Take your Dual Strip Cutter and adjust the parallel blades to your desired width.  Once you have decided how wide you want the strips to be, cut strips across the whole length of the fabric.  You want to make sure you leave about a half an inch of uncut fabric on each side of the longer edges.


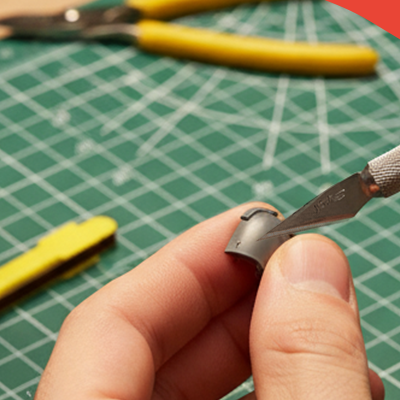
Step 4: Next, grab your green leather.  Using your Fit Grip Knife, cut leaves out for your flower comb.

Step 5: Now, grab your fabric pieces and your glue gun. Glue the longer sides of the edgesb together.  Once the edges are glues together, your fabric should look like a loop.

Step 6: Once the glued edges have dried, start to roll the fabric to create a flower.  As you roll the fabric add a little bit of hot glue to the uncut edge to ensure the flower stays together.

Now it is time to assemble your flower hair comb! 

Step 7: Grab your hair comb and leather, or felt, flower.  Flatten out the top of the flower to make it look more like a flower.  Once you have flattened it to your desire, glue the flower to your hair comb.  Now that the flower is glued, you can add your leaf.  Glue your leaf to the hair comb and then let the glue dry.

You have created your Flower Hair Comb!

How easy was this DIY!  Not only is this a great way to add a unique touch to your outfits, but it is also a great project to do with your kids!  They will have so much fun creating their own hair accessories that they will be asking to do one every weekend!

We hope you enjoyed creating this beautiful flower hair comb as much as we did!

Don't forget to show us how you DIY by tagging us on Instagram at excelblades and excelblades.co.  Subscribe to our YouTube channel for more DIY projects and tips on our tools.

Previous article How to Make Cosplay Wings

Compare products

{"one"=>"Select 2 or 3 items to compare", "other"=>"{{ count }} of 3 items selected"}

Select first item to compare

Select second item to compare

Select third item to compare

Compare