Excel Blades December 2025 Holiday Gift Guide
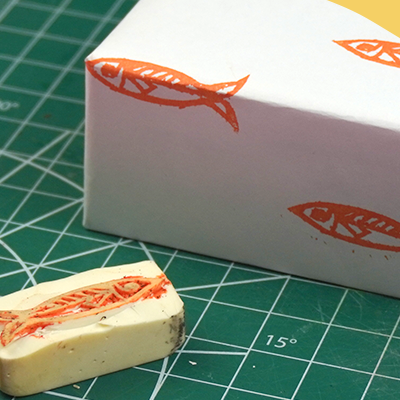
It’s the Season of Making: Find the Perfect Gift for Every Creator The holidays are here — and there’s no better time to celebrate creativity, craftsmanship, and the joy of making. Whether you’re shopping for a hobbyist, artist, crafter, designer,...