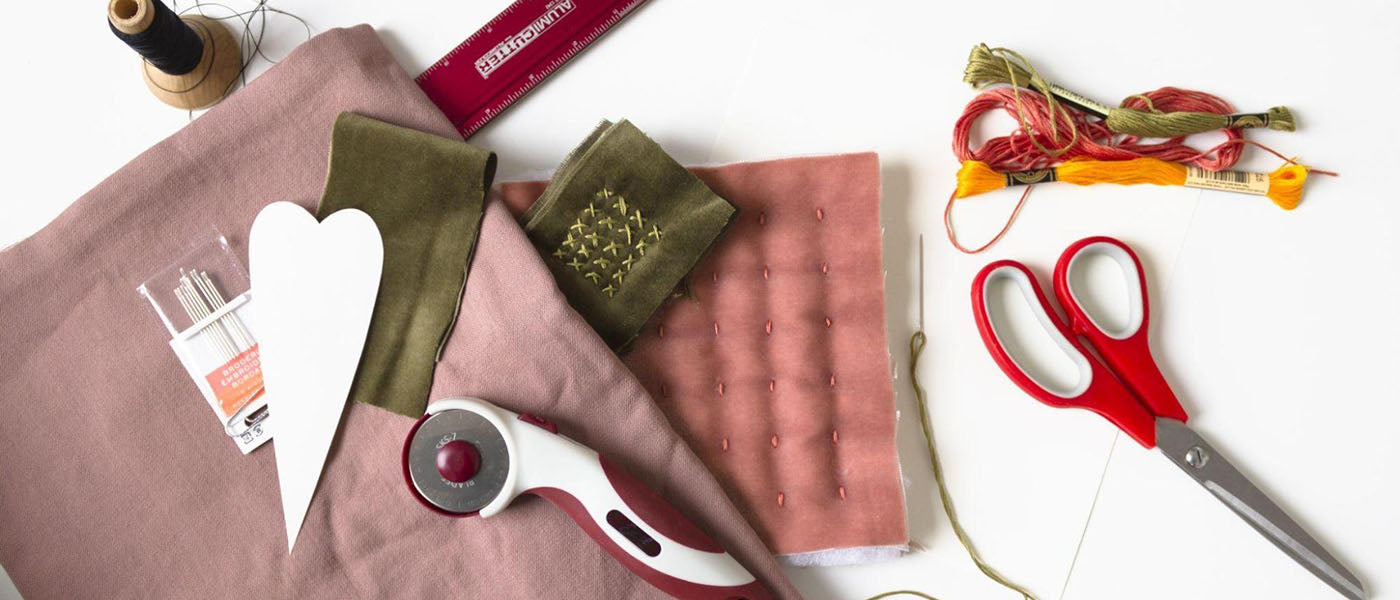
How to Make a Quilt by Hand
If you want to try a new meditative hobby this year, consider hand quilting.
It’s not as complicated as you would think. It really is just batting in between two layers of fabric with creative stitching holding it all together. For an eco-project, try materials you already own, like old pillowcases or that slightly stained button-down shirt you just can’t get rid of because the pattern is awesome.
Hand quilting is not just for bedspreads. Table runners, placemats and pillowcases are just some examples of projects to make. Practice by starting small.
Find the Craft Tools Perfect for Quilting
Here are a few tips to consider before you get started with hand quilting.
Fabrics:
You can purchase specialty cotton fabrics at quilting supply shops or larger craft stores. However, you do not need to invest in new fabric as you can upcycle and hand-quilt many soft fabrics, even denim. When spring cleaning out your closet, set aside t-shirts you no longer wear but feel nostalgic about - yes! Those can be quilted as well! Get creative and thrifty.
Threads:
Use quilting thread. Select a thread color for each of your fabrics. Consider if you’d like the thread to disappear against the pattern or be a contrasting design feature that stands out. A neat trick to selecting matching thread is to unravel the thread and lay it on top of the fabric. A shade darker than the background color of the patterns is usually a good rule of thumb to try first.
Pro Tip: When quilting, cut your thread to no more than 18” inches in length to avoid tangles and knots. Many quilting supply stores will offer a variety of thread conditioners like wax to further help prevent knots, tangles and fraying.

Pins and Needles:
Use sharp thin pointy pins and needles. The pins will be holding your layers in place, so you’re going to need a number of them. The needles should be sharp and the eye should easily accommodate your thread size of choice, but not so big that it leaves a big hole in the fabric after it passes through. It should also be sturdy and not bend easily.

Basting Layers:
When assembling layers of your quilt, first pin them in place, then baste them together using a basting stitch. This stitch is long and loose, approximately ¼” apart, and is intended to be pulled out. Don’t worry about it being neat when using the basting stitch, it’s only purpose is to hold everything in place.
Batting:
Choose quilting batting that has clear instructions on the packaging and recommends techniques for best results. Pick a thickness that works best for your design; cotton batting lays flatter whereas wool batting adds volume. Double or triple up on batting for a puffer quilt.
… speaking of:
Design:
Plan out your quilt design, it’s totally fine to adjust it while hand quilting, but you should have a general size and look for the quilt you’re making so that you have all the correct supplies gathered and on hand.
There are a few ways to finish the edges of a quilt. Before you cut your fabric, plan out if you’re going to use binding or a clean seam finish.

Next, gather your craft tools:
- Fabric
- Batting
- Quilting thread
- Quilting pins and needles
- Scissors
- Hobby toolset
- Rotary cutter
- Ruler
- Cutting mat
- Embossing tools
Ready? Quilt!
Browse Cutting Tools for Your Quilting ProjectStep One:
On your cutting mat using the rotary cutter, cut the base layer, batting and top layer to size based on how you’ll finish the edges. Use the grid on the cutting mat to align the fabric to the right measurement. For larger projects, use a larger cutting mat.
Sew edges for a clean finish then turn the fabric right side out. No need to do this step if your edges will be finished using the bounding technique. Pin and baste layers together so there’s no shifting.

Step Two:
Quilt! Below is a list of techniques to try.
- Tracing the Motif:
Follow the outlines of the pattern or motif on your fabric. Use a thinner thread for a subtle look or use a thicker thread in a pop of color for a standout design.
- Parallel Stitching:
Stitch vertical or diagonal lines. Play around with spacing, these can be close together or wide apart.

- Straight Line Stitching:
Create a geometric design with straight lines. Create zig-zags, Grecian keys, basket weaves, diagonal grids, plaids etc.. possibilities are many!
- Cross-Stitch:
Tiny cross-shaped stitches in a grid pattern, staggered or even at random.
Step Three:
Finish the edge with binding, you’re skipping this step if you’re doing a clean finish edge.