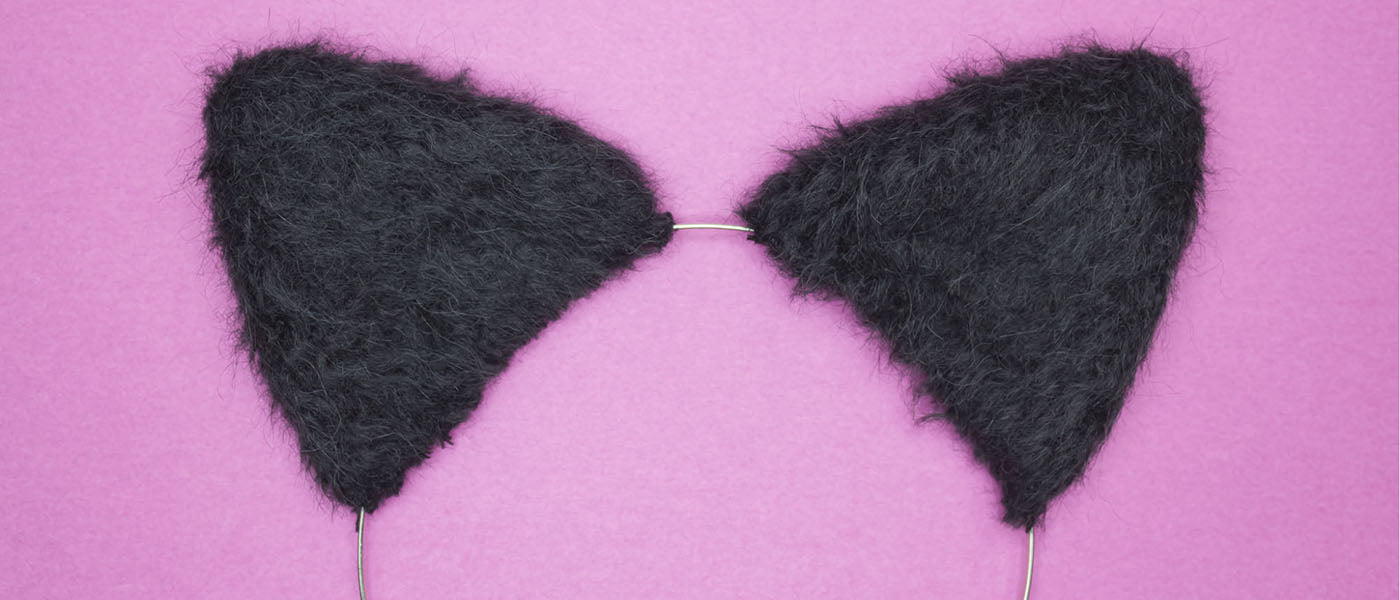
How to Make Cosplay Cat Ears
Cat ears are the feline themed accessory that outlasted many trend moments and so they are here to stay! Follow the few simple steps below to make this fun and fierce accessory.

Gather your materials and prepare your workspace. You’ll need the following:
- Headband — a simple one from the craft store will do
- Fuzzy faux fur fabric in your choice of color
- Hot glue
- Scissors
- Craft knife — for cutting the faux fur fabric
- Paper — to make the pattern
- Pencil
- Scissors
- Needle and thread
- Cutting mat — to cut on and to protect your table surface
Optional:
- Ribbons
- Gems
- Tweezers — for gluing gems just in the right spot

Step One
On a sheet of paper, draw the outline of the cat ear — a rounded triangle. Make sure it’s the appropriate size and add seam allowance for sewing. Cut out the paper pattern using scissors and then test the size to check if you’re happy with the scale. Adjust as needed.
Step Two
Transfer the ear pattern to the back of the faux fur and trace with a pencil or a pen if necessary. Using a craft knife, carefully cut out the pattern piece from the faux fur. Cut four. If your cat ear pattern is asymmetrical, cut two of each shape.
Using small scissors like the Curved Lexan Scissors, trim away the faux fur from the seam allowance to reduce bulk. The curved lexan scissors are great for this task due to their short curved blades, which help in precise trimming.

Step Three
Sew together the front and back of each ear, sides only. Leave the bottom seam open. Turn right side out. Brush out any faux hair fibers stuck in the seam. Use an awl to pull them out if needed.
Step Four
Apply hot glue to the inside base edge of each ear and glue the ears closed. Then, apply the glue to the outside base and glue onto the headband.
Step Five
Decorate and accessorize with gems, sequins, ribbons and more!
Make one or a few unique ones! And don’t forget to tag us in your photos: @excelblades. We love to see and share your creations.