How to Make Vinyl Stickers: A Step-by-Step Guide
Custom vinyl stickers are a fun and creative way to express your personal style, brand your business, or decorate your gear. From laptop decals to planner labels and product packaging, vinyl stickers are versatile and easy to make at home with the right tools.
This beginner-friendly guide will walk you through how to design, cut, and apply vinyl stickers—along with expert tips and product recommendations from Excel Blades, your go-to source for precision cutting tools.
Why Make Your Own Vinyl Stickers?
Whether you're a small business owner, DIY crafter, or a fan of scrapbooking and journaling, vinyl stickers offer:
- Customization and creative freedom
- High-quality waterproof and durable designs
- Affordable branding or gift ideas
- An easy entry point into Cricut and Silhouette crafting
Tools & Materials You’ll Need
To start making vinyl stickers, gather these essentials:
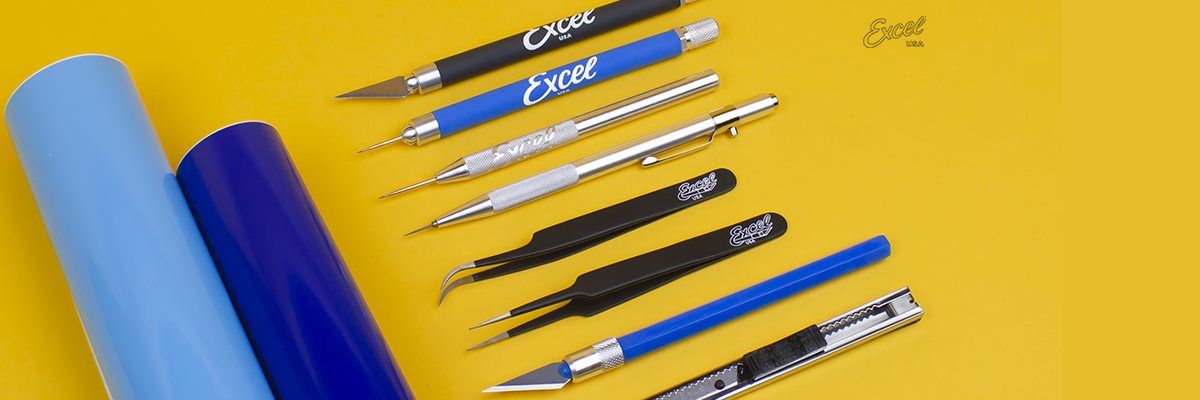
- ✂️ K1 Light Duty Knife – For detailed hand-cutting of vinyl
- 🔪 #11 Blade – For clean, precise cuts
- 📏 Aluminum Ruler – Helps with straight cuts and measurements
- 🧲 Self-Healing Cutting Mat – Protects surfaces and extends blade life
- 📦 Printable vinyl sheets (inkjet or laser)
- 🖨️ Printer
- 💧 Laminating sheets (optional, for waterproofing)
- 💳 Scraper tool or gift card for application

Step-by-Step: How to Make Vinyl Stickers
Step 1: Design Your Sticker
Use design software like Canva, Adobe Illustrator, or Cricut Design Space to create your vinyl sticker art. Keep the resolution high and use bold outlines for clean cutting.
💡 Tip: Use the trace tool in Cricut or Silhouette software to turn any image into a cuttable design.
Step 2: Print on Vinyl Paper
Print your design onto printable vinyl sheets using an inkjet or laser printer, depending on the paper type. Allow the ink to dry completely before handling.
Optional: Apply a laminate overlay to protect from scratches and water.

Step 3: Cut the Stickers
For hand-cutting:
- Place your printed vinyl on a cutting mat
- Use the K1 Craft Knife and Aluminum Ruler for precise trimming
- Carefully trace the outlines with a sharp #11 blade
For machine cutting:
- Upload your design to Cricut or Silhouette
- Adjust cut settings for printable vinyl
- Weed the excess vinyl using a craft pick or blade
Step 4: Apply Transfer Tape (Optional)
If your design includes intricate or multi-part sections, apply transfer tape to lift and apply the design in one piece.
Step 5: Stick It!
Peel and stick your custom vinyl sticker onto laptops, water bottles, packaging, journals, or any smooth surface.
Pro Tip: Use a scraper tool or a credit card to smooth out air bubbles during application.

Best Tools for Sticker Making | Available on Excel Blades Website
- K1 Craft Knife Set – Perfect for hobbyists and professionals alike
- Self-Healing Mat – Various Sizes – Ideal for safe cutting and measuring
- #11 Replacement Blades – 100pk – Always stay sharp
Final Thoughts
Creating custom vinyl stickers is a satisfying and highly versatile craft. Whether you're branding your business, personalizing gifts, or just having fun, the right tools make all the difference. Excel Blades provides precision cutting tools trusted by creators across every level.
