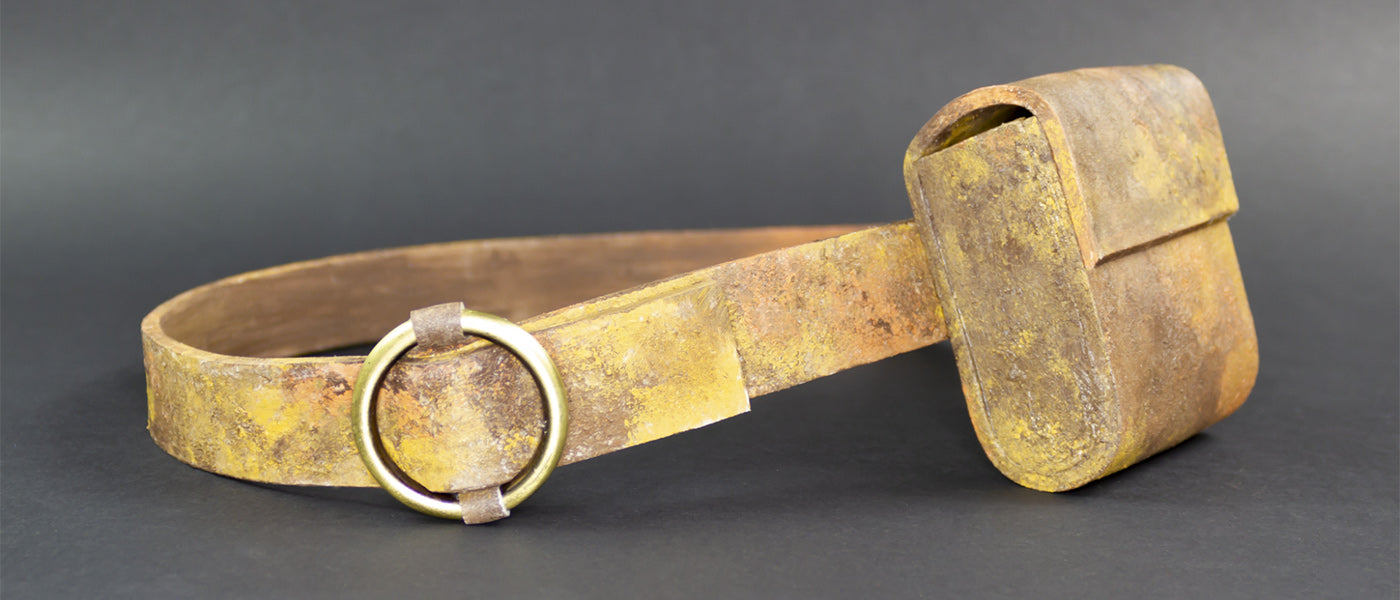
How to Make a Cosplay Utility Belt
Some comic book and video game characters have some variation of a utility belt as part of their costume. They’re very practical, after all! In this article, we’re going to guide you step by step on how to create a utility belt for your cosplay costume, using tips and tricks from an accessories designer.
(If you are new to the world of cosplay and want some beginner’s tips before tackling the cosplay utility belt, check out our blog How to Cosplay).
Here’s what you’ll need to make a cosplay utility belt:
- Tape measure
- Pencil
- Pattern Paper
- Cutting Mat
- Awl
- Belt Material — this could be EVA foam, PVC, leather or other suitable cosplay materials
- Ruler
- Craft Knife
- Utility Knife
- Pounce wheel
- Hardware
- Paint
Need Cosplay Tools? Check Out Our Selection Here
This is a general list to create the cosplay utility belt. When planning out your character’s costume, list all the components that you’ll need in addition to complete the authentic recreation. Determine if you will need metal or plastic buckles, rivets, nail heads, etc.
You have your character. You have a good part of your costume. Now, you need to make the belt.
Step One — Measurements
Using a tailor’s tape measure, measure the area where you’ll be wearing your belt. Do this with your costume on to account for the thickness of the garments the belt will be worn over — especially if you’re recreating characters whose costumes include many bulky layers, like from Assassin's Creed or The Witcher. This is the inner length of the belt.
Then, determine the width of the belt at center front, at both sides and at center back.
If you are making a complex multi-piece belt, read our other blog article How to Make Cosplay Armor. There’s a good tip on how to plan out your pattern for a multi-piece item.
Step Two — Shape
On a piece of pattern paper, draw the width and height of your belt and fill in the lines to get your shape.
Pro Tip: If your belt is symmetrical, draw the one side, fold the pattern paper in half along the center front and use the awl or the pounce wheel to mark the shape onto the other half by puncturing the pencil line through. Then, trace over with a pencil using a ruler for all straight edges.


Step Three — Closure
Determine the closure you’ll be adding on your belt and mark all the details on your pattern including buckles and holes. For buckled belts, add length to the inner length measurement to extend the overall pattern. Pro Tip: If you’re adding a prong buckle to your belt, mark an odd number of holes, either three or five. Then, measure out and mark the holes so that the belt buckles on the center hole. This creates visual balance.


Step Four — Details and Add-ons
Determine the details you will be adding to your belt, including the nailheads, trim, utility pockets, fringe, holsters… all of it. Mark the placement on your pattern.

Step Five — Transfer the Pattern
Lay out your belt material on the cutting mat and then lay the pattern over and secure it to the surface so there’s no shifting. With the pounce wheel, trace the outline of the belt. Then, using the awl, mark all the details like pocket placement, rivet placement or buckle holes.

Lift off the pattern paper carefully and double-check that all the important marks are visible and in the correct location.
Step Six — Cut
Using a craft knife and a fresh blade, cut out the belt from your material. Use a ruler to cut straight lines where needed. Cut all the smaller details last. For details, try the K71 Index Finger Knife. It’s a unique design allowing for maximum control and comfort while working.

Step Seven — Seal and Paint
If you’re working with a material like leather or vegan leather, skip this step.
When working with EVA foam or other synthetic materials, use a sealant on the surface to smooth it out. Tool Tip: Use a wide decoupage short-bristled brush to apply the sealant, apply several coats and let dry in between every application.
Once the seal coat is dry, paint each piece with acrylic paint or spray paint in the desired color. There is a benefit to painting everything unassembled — it lays flat and you are able to paint all the pieces at once. This is especially helpful when painting a faux effect like distressed leather or battle metal. Use the craft knife, awl and pounce wheel to add distress marks to your paint if you’re looking for a weathered effect.
Check Out All the COSPLAY TOOLS We Offer.
Practice painting on larger scraps of foam first to make sure you’re getting the desired effect.

Step Eight — Assemble
Glue any of the pieces that need to be put together.
Add all the details like nailheads, rivets, laces or other hardware. Check for any paint touch-ups and you’re ready to put all the belt pieces together for the final look.
We hope this article was helpful. Drop us a line in the comment section.
You May Also Watch: Make your own Cosplay Wings - Excel Blades® DIY Tutorial