Cozy Holiday Crafts You Need to Make This Winter
Kid-Friendly Creative Winter DIYs
There’s nothing like the holiday season that gets a crafter feeling inspired and motivated! Whether you're a seasoned expert or a crafting newcomer, there are many holiday crafts waiting for you.
In this blog, we'll explore three simple and unique DIY projects. Grab your crafting supplies, put on some festive tunes, and let's get started!
Suggested Holiday Crafts Tools
- K71 Index Finger Knife
- K7 Carving Knife
- K26 Fit Grip Knife
- Double Ended Knife and Embossing Tool
- Tweezers
- Rulers
- Scissors
- Cutting mats
- Carving gouges
Paper Winter Village Advent Calendar
Make this the first project on your list to make the holiday wait more exciting! These houses can be large enough to cover your advent calendar’s gifts like a classic calendar. Or you can make them small enough to hold slips of paper if your space is limited.

For this project, you’ll need a good amount of cardstock to start (or cardboard if you’re making them larger). Use a scribe tool or tracing wheel to transfer the stencil below onto your cardstock, this will eventually become the cube that houses the contents of your advent calendar. Take the time to sketch out the pentagonal ‘faces’ of the houses as well as long rectangles for the roofs. We recommend decorating and designing the look of your winter village houses at this step!

Cut out the cube templates; while scissors are a tried and true tool, an ergonomic paper cutter like the K71 Index Finger Knife will help reduce the fatigue of this task and ease the trouble of making tiny detailed cuts if you’re working in miniature. A ruler is a great addition to ensure you get straight and consistent cuts and pair of tweezers can be a helpful tool when dealing with any tiny additions to your design.
Tip: Swap out the installed #11 Hobby Knife Blade for the #16 Stencil Edge Blade to help with intricate shapes.
Fold along the dotted lines of your stencil and glue your cube into place. Wait for the glue to completely dry before decorating your boxes into the winter village houses. You can make and number 24 houses for each day leading up to Christmas or you can go week by week, the choice is up to you! These holiday crafts are simple to make but make a huge impact!
Homemade Salt Dough Ornaments
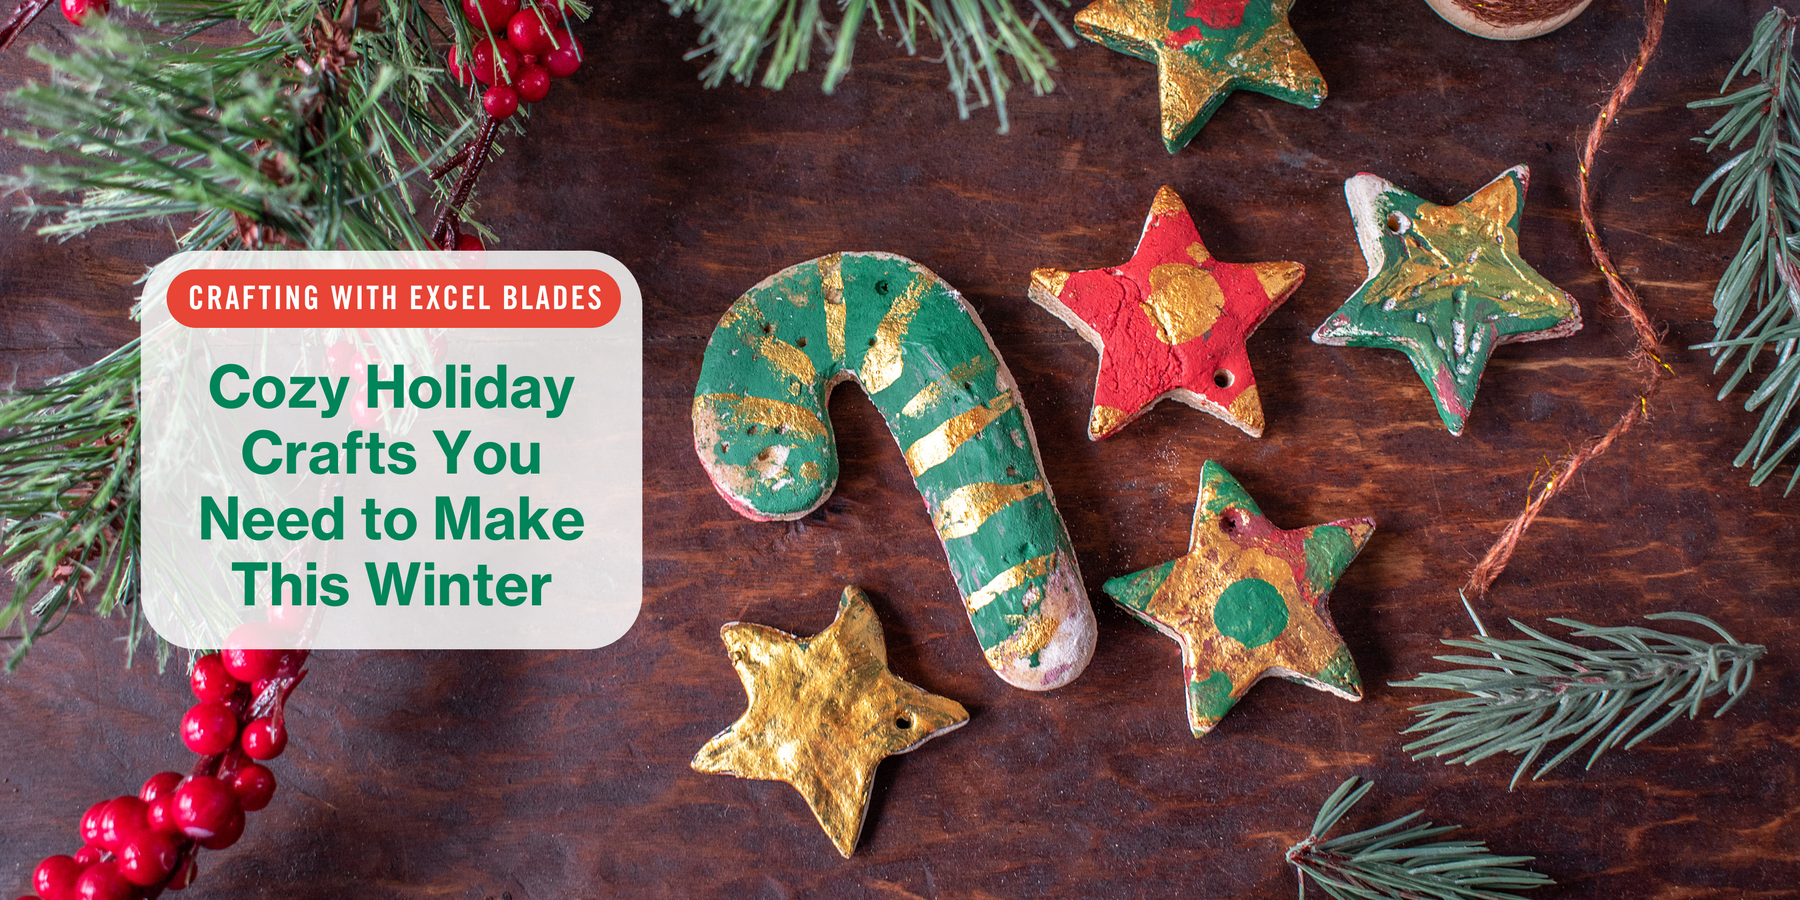
Making salt dough ornaments has been a cherished tradition for centuries but it has recently experienced a resurgence in popularity. These holiday crafts offer a fun and interactive way to create personalized decorations for Christmas trees, wreaths, and other festive displays. With its simple ingredients and kid-friendly learning curve, making and decorating salt dough ornaments is the perfect afternoon craft to do this winter.

Follow the recipe above to create your salt dough ornaments. Make sure to roll out your dough with a consistent and even thickness. Too thin and your ornament can easily snap, too thick and it’ll take too long to bake. As for the shape of your ornaments, you can use cookie cutters to cut out fun shapes. You can also create interesting details on these holiday crafts with a tool like our double-ended knife and embossing tool.

Wait for your ornaments to fully cool before any decorating and apply a generous coating of mod podge to seal it all in. These ornaments can last decades with the right attention and care to your craft! These kid-friendly holiday crafts are not only a fun family activity but a memory in physical form.
Personalized Linoleum Gift Stamps
Looking for a way to add a unique and heartfelt flair to your gift wrapping this holiday season? Take an afternoon and easily create these holiday crafts: personalized gift stamps! By carving your own design into a linoleum block, you can create custom stamps that will add that special touch to any present.

Start by designing your stamps; like with other holiday crafts, you can go bold and bright with simple shapes like hearts and pine trees or go for a unique and detailed motif like a character or lettering.
You can mark your linoleum block with pencil or use tracing paper to transfer the design from your sketchpad to the block. Prepare your work space and use a cutting mat to protect your surface while carving away and cutting.
Using a range of carving gouges and a sturdy handle like our K7 Carving Knife, carefully remove the negative space of your design leaving only the raised areas that you want to ink. The deeper you carve into the block, the less the color that will show in that particular area in your final print. Be sure to occasionally test your stamp while in progress to make sure it looks the way you envisioned!
Tip: You can also carve away the lines of your holiday crafts to create a bold design with its own border and background!

Once you're happy with the look and feel of your personalized stamps, use a craft knife to remove it from the rest of the linoleum block. Now, you can start inking and pressing your design into any surface. Create your own patterned gift wrap, add a personal touch to your gift tags, add some whimsy to your greeting cards and more!
—
What holiday crafts will you tackle this winter? Keep your toolbox well stocked and craft-ready by shopping our Holiday Collection! You can also check out our Gift Guide to help you find the perfect gift for the crafter on your gift list.