February 22, 2021
How To Make A Wire Bonsai Tree - [Step By Step Tutorial]
How To Make A Wire Bonsai Tree [Step By Step Tutorial]
What kind of art can you make with copper wire?
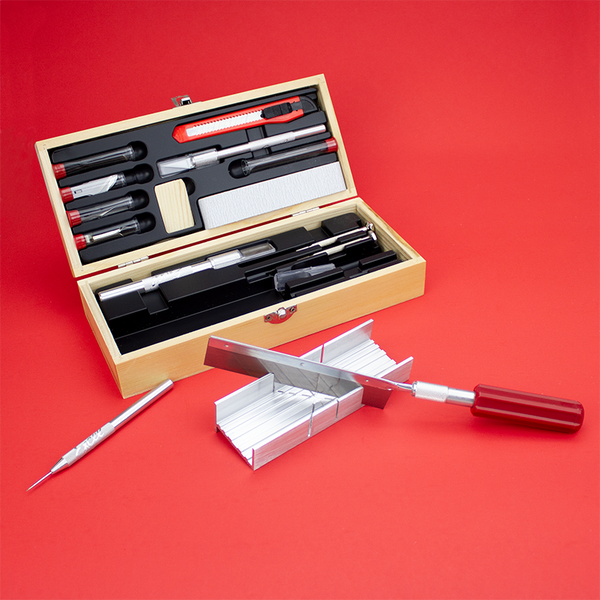
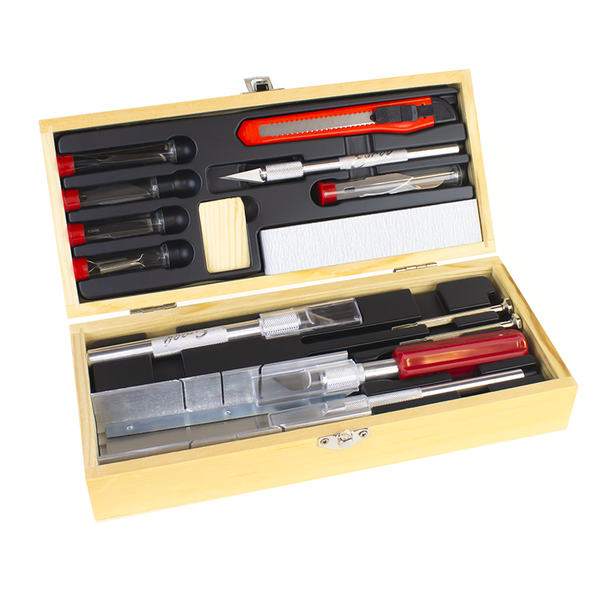
Wire art is a new, unique way of creating a custom wire sculpture with just a few tools. Wire wrapping is fun, easy, and a forgiving material to work with. All you'll need are pliers (needle nose and round nose pliers), end nippers or wire cutters, some foam or cloth, copper wire (or your preferred color), 4 screws and a wooden block. This step by step tutorial will show you how to turn pieces of wire into a beautiful bonsai tree!
This copper wire tree sculpture is so easy to make you can do it with the kids! It is a fun project to do when your creative juices are flowing. Whether it is when you first wake up or when you've just been sitting on the couch for too long and you want to get creative. This project only needs a few tools and materials that you probably already have around your house, you just didn't know it! Seriously, who would have known that pliers would be the perfect wire wrapping tool. This is the perfect accent piece for your décor and the ideal housewarming gift for a friend.
In this tutorial, we create a bonsai tree made from wires. Using a 20 gauge wire, or more, will give you the best results when creating this tree. You will have the perfect accent piece in your home that is sure to have your guests in awe.
So, grab your round nose pliers, needle nose pliers, some end nippers, and a lot of copper wire (or the color of your choice) to recreate this beautiful wire bonsai tree.
What You Will Need To Make A Wire Bonsai Tree
Copper Wire (20 gauge)
EVA Foam (you can use cloth or other foam)
Wooden Block with 4 screws

How To Make A Wire Bonsai Tree
Grab your copper wire and end nippers. Our wire is 20 gauge however, the thicker the wire the better. Unwind some of the wire and using the ruler on your cutting mat measure 16" - 18". We chose to cut our wires at 16 inches. Take your end nippers and cut the wire off of the spool. Repeat this process until you have a minimum of 25 wires at your desired length.
Tip: the more wires you cut, the better.
Separate your wires into 4 equal parts. Once you have separated your copper wire, grab your wooden block with 4 screws and take each bundle of wires and wrap them around the screws.
Tip: Wrap the bundles of wire first before you wrap them around the screws on the block. This will help keep all the wires together.
Once the wires are secure, bring all four bundles to the enter of the block. Grab your foam (or cloth) and needle nose pliers. Wrap the foam around the wires, take your pliers and place it over the foam and twist the wires together.
Tip: The foam will help you not scratch the wire as you twist them together with the pliers. If you do not have foam, you can use cloth or a microfiber towel. Turning the block as you twist, instead of the pliers, will also help you. Not only will it make it easier to twist them together, it will trim off some time on your project.

Once you've twisted the wires to the center of the block, grab a minimum of 4 wires and separate it from the trunk. Grab your pliers and foam piece again and twist the branch wires together. Repeat steps 3 and 4 until you have the trunk and branches separated the way you want. When you have finished separating all the branches, your wire should look like this:

After you have separated your wires, grab your round nose pliers Go to the end of your first branch and grab one of the wires. Wrap the wire around the nose of the pliers to create little circles. This will be the little leaves on your bonsai tree.

Repeat this process for each wire piece.
Tip: having the tree lay on the table will make it easier to twist the wire when creating leaves with the round nose pliers.

Once you have finished curling all of the wires, you are going to place the leaves the way you would like them be. Do not be afraid to move them around, you can always fix your "leaves".
Finally, take the wire tree off of the wooden block and screws.

Grab a decorative bowl and place your wire bonsai tree inside your bowl. Add rocks, marbles, jewels, whatever you'd like to fill in the space.
Tip: adding rocks into the bowl will not only help the tree stand up, it will give your wire art a beautiful touch!
You have now created you very own Wire Bonsai Tree! Your artwork is now ready to be showcased in your house or gifted to a friend.

This gorgeous wire bonsai tree is a great gift for the one you love whether it is for the holidays, a birthday, or just an awesome house warming gift. Don't want to give it away? Keep it for yourself! It is fun, easy, and a conversation piece sure to have your guests asking, how did you make that?
We hope you enjoyed creating this wire bonsai tree as much as we did!
Don't forget to show us how you DIY by tagging us on Instagram at excelblades and excelblades.co. Subscribe to our YouTube channel for more DIY projects and tips on our tools. Make sure you are following us on our Amazon account to see live videos and workshops with our tools!
Missed last weeks blog? Don’t worry, we have you covered. See how we make a custom shadow box with our Deluxe Knife Set.